

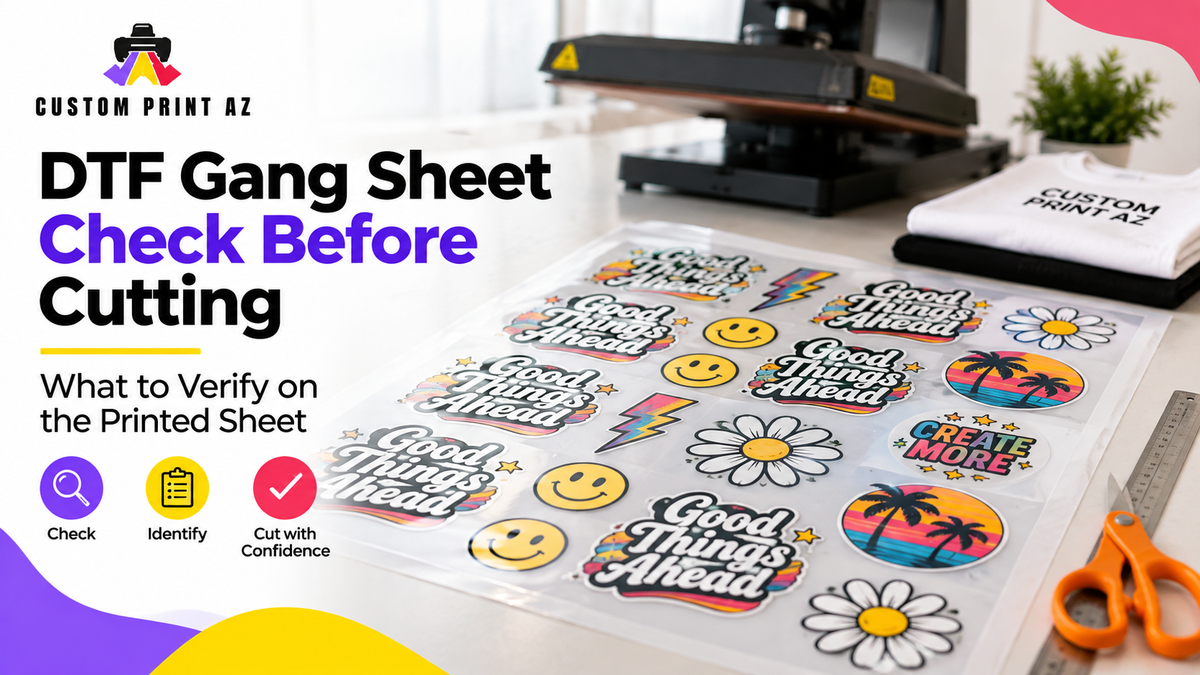
When a printed DTF gang sheet is in front of you, it can be tempting to start cutting individual transfers right away. But while the sheet is still intact, you have one useful advantage: you can see every design, repeat, and variation together.
A quick pre-cut check can help you understand what is actually on the sheet before those visual relationships disappear. Instead of treating each transfer as an isolated piece, you can identify artwork groups, spot similar versions, recognize size differences, and resolve anything you cannot immediately identify.
This is different from learning how to cut a gang sheet or performing a detailed print-quality inspection. The question is much narrower: before you cut the sheet apart, can you clearly identify the transfers you are looking at?
If you are working with a DTF gang sheet, a simple scan before cutting can make the next production step easier to manage.
Start With the Entire Printed DTF Gang Sheet

Before focusing on one transfer, look at the entire sheet. At this stage, you are trying to understand its overall structure rather than inspect every small detail.
You may see one logo repeated several times, multiple unrelated designs, or the same artwork printed at visibly different sizes. Two designs may look nearly identical until you notice a different line of text, date, name, or other artwork variation.
Ask a few basic questions before doing anything else:
- How many distinct artwork groups can you identify?
- Which designs repeat?
- Are there similar-looking designs that are not actually identical?
- Do any transfers appear at different sizes?
- Is there anything on the sheet that you cannot immediately identify?
You do not need to turn this into a lengthy inspection. The goal is simply to understand the printed sheet while everything is still visible together.
Identify the Main Artwork Groups
Next, separate the sheet mentally into artwork groups. Clearly different graphics should be easy to distinguish, but sheets containing several versions of the same basic design deserve a closer look.
For example, a sheet could contain a primary logo, a secondary graphic, and an event design. Instead of thinking of them as individual transfer pieces, first recognize them as three separate artwork groups.
This becomes more important when designs share similar visual elements. A logo may appear in more than one version. A graphic may include different text. Two transfers may use the same basic artwork while containing a small change that matters once production begins.
You are not approving or redesigning the artwork at this stage. You are simply making sure you can distinguish one printed artwork group from another before the sheet is separated.
Look for Similar but Different Artwork Versions
Similar-looking transfers are one of the strongest reasons to check the full sheet before cutting.
Imagine that two graphics use the same logo and overall shape, but one includes a different name or date. When both remain on the same sheet, their position and surrounding transfers can provide additional visual context. Once they are cut into separate pieces, that context is gone.
Take a moment to identify meaningful version differences before cutting. Look for changes such as:
- different text or names,
- different dates,
- small artwork revisions,
- different graphic elements,
- other visible details that distinguish one version from another.
If a difference will matter later in production, make sure you understand it now. If you use artwork names or simple job notes, you can refer to them when needed, but a formal tracking system is not required for this check.
Recognize Repeated Designs Before They Become Separate Pieces
A DTF gang sheet may contain multiple copies of the same design. Before cutting, identify which transfers are true repeats of the same artwork.
This does not mean recalculating how many transfers should have been ordered. Quantity planning belongs earlier in the ordering workflow. Here, you are simply looking at the printed result and determining which repeated pieces belong to the same artwork group.
This distinction matters when a sheet also contains a similar version of that artwork. For example, several identical transfers may sit near another group that looks almost the same but contains a small revision. Identifying those groups before cutting reduces the chance that visually similar pieces will later be treated as interchangeable.
Keep the task simple: identify the repeated designs and recognize where one artwork group ends and another begins.
Use Size Differences to Help Identify Transfers
The same artwork can appear at more than one printed size. When that happens, size becomes another useful way to distinguish transfer groups before cutting.
This is not the time to decide what transfer size should be used for a particular garment. Those production decisions should already have been made. You are only using the visible size difference to understand the printed sheet.
If the same logo appears in two clearly different final dimensions, treat those pieces as separate groups during your pre-cut check. Doing so can make them easier to recognize once they are no longer attached to the full sheet.
There is also no need to turn this step into another lesson about sheet dimensions, design dimensions, or transfer sizing. The purpose here is narrower: if size distinguishes two otherwise similar printed transfers, notice that difference before cutting.
Compare the Sheet With What You Expected to Receive
Once you understand the visible artwork groups, compare them with what you expected to see on the sheet.
If you have an order record, artwork list, or production note, you can use it as a reference. If you do not maintain a formal record, the check can still be useful. The goal is to make sure the printed groups make sense before they are separated.
Consider these questions:
- Can you identify the main artwork groups you expected?
- Can you distinguish important versions from one another?
- Are different-size versions recognizable when size matters?
- Can you tell which pieces are repeats of the same design?
- Is there a transfer that you cannot explain or identify?
You are not restarting the proofing process. You are comparing the physical sheet in front of you with the production information you already have.
Do Not Guess About an Unclear Transfer
If you find a transfer that you cannot identify, cutting it immediately removes some of the context that may help you figure it out.
Instead, keep the sheet intact long enough to investigate. If available, check the artwork file name, order information, or production note. Compare the unclear piece with nearby repeats and similar versions.
This is especially useful when two designs differ only in a small detail. Resolving that difference while you can still see the complete sheet is generally easier than trying to reconstruct the relationship after every transfer has become a separate piece.
Avoid assigning an unidentified transfer based only on a guess. The purpose of the pre-cut check is to resolve uncertainty before separation, not carry that uncertainty into the next production step.
Keep the Check Focused on Transfer Identification
A pre-cut check can easily expand into other production topics if its purpose is not kept clear.
This is not a complete print-quality inspection. It is not a guide to choosing transfer dimensions. It is not a garment-placement tutorial, and it is not an inventory or reorder workflow.
The checkpoint is much simpler:
When I start cutting this sheet, will I know what each transfer group represents?
If the answer is yes, the sheet is ready to move into the separation stage. If the answer is no, use the intact sheet and any available order information to resolve the uncertainty first.
Use a Simple Scan, Identify, Compare, Resolve, Cut Workflow
You do not need a complicated system to make this useful. A five-step routine keeps the process focused:
- Scan: Look at the complete printed sheet before cutting anything.
- Identify: Recognize the different artwork groups, important versions, repeats, and visible size differences.
- Compare: Compare what you see with what you expected, using order or artwork information if it is available.
- Resolve: Investigate any transfer or version you cannot confidently identify.
- Cut: Move to separation once the printed groups are clear.
The purpose of this workflow is not to add unnecessary work. It creates a clear stopping point between receiving a complete printed gang sheet and turning it into individual transfer pieces.
Know Where the Pre-Cut Check Ends
Once the sheet is understood, the pre-cut check is finished.
The next stage is physically separating the designs and keeping the resulting transfer pieces organized before pressing. That is a different production problem and should not be confused with identifying what is on the intact sheet.
The same boundary applies after production. Tracking unused transfers after a run is also a separate workflow. The pre-cut check does not need to manage future inventory, storage, or reorders.
Keeping these stages separate makes the process easier to understand:
First understand the printed sheet. Then cut it. Then manage the individual transfer pieces according to the needs of the job.
A Quick Final Check Before Cutting
Before the first cut, ask yourself four final questions:
- Can I identify the different artwork groups?
- Can I distinguish similar versions or meaningful size differences?
- Do I know which transfers are repeats of the same artwork?
- Is there anything on the sheet that I still cannot identify?
If the answers are clear, you have completed the purpose of the pre-cut check.
The value of doing this while the gang sheet is intact is simple: all of the designs are still visible in relation to one another. After cutting, each transfer becomes an individual piece, and some of that visual context disappears.
Read the Sheet Before You Cut It
A printed DTF gang sheet does not require a complicated inspection before cutting. It does benefit from a short moment of orientation.
Look at the complete sheet, identify the artwork groups, notice repeated and similar versions, use visible size differences when they help distinguish pieces, and resolve anything you cannot explain. Once those relationships are clear, move on to cutting.
That simple sequence keeps the pre-cut step focused on one job: understanding what is on the printed sheet before it becomes a collection of individual transfers.


