


DTF - Build Gang Sheet
DTF - Build Gang Sheet
Please make sure your files have a transparent background. Avoid white backgrounds!
Couldn't load pickup availability
Description
Description
DTF - Build Gang Sheet
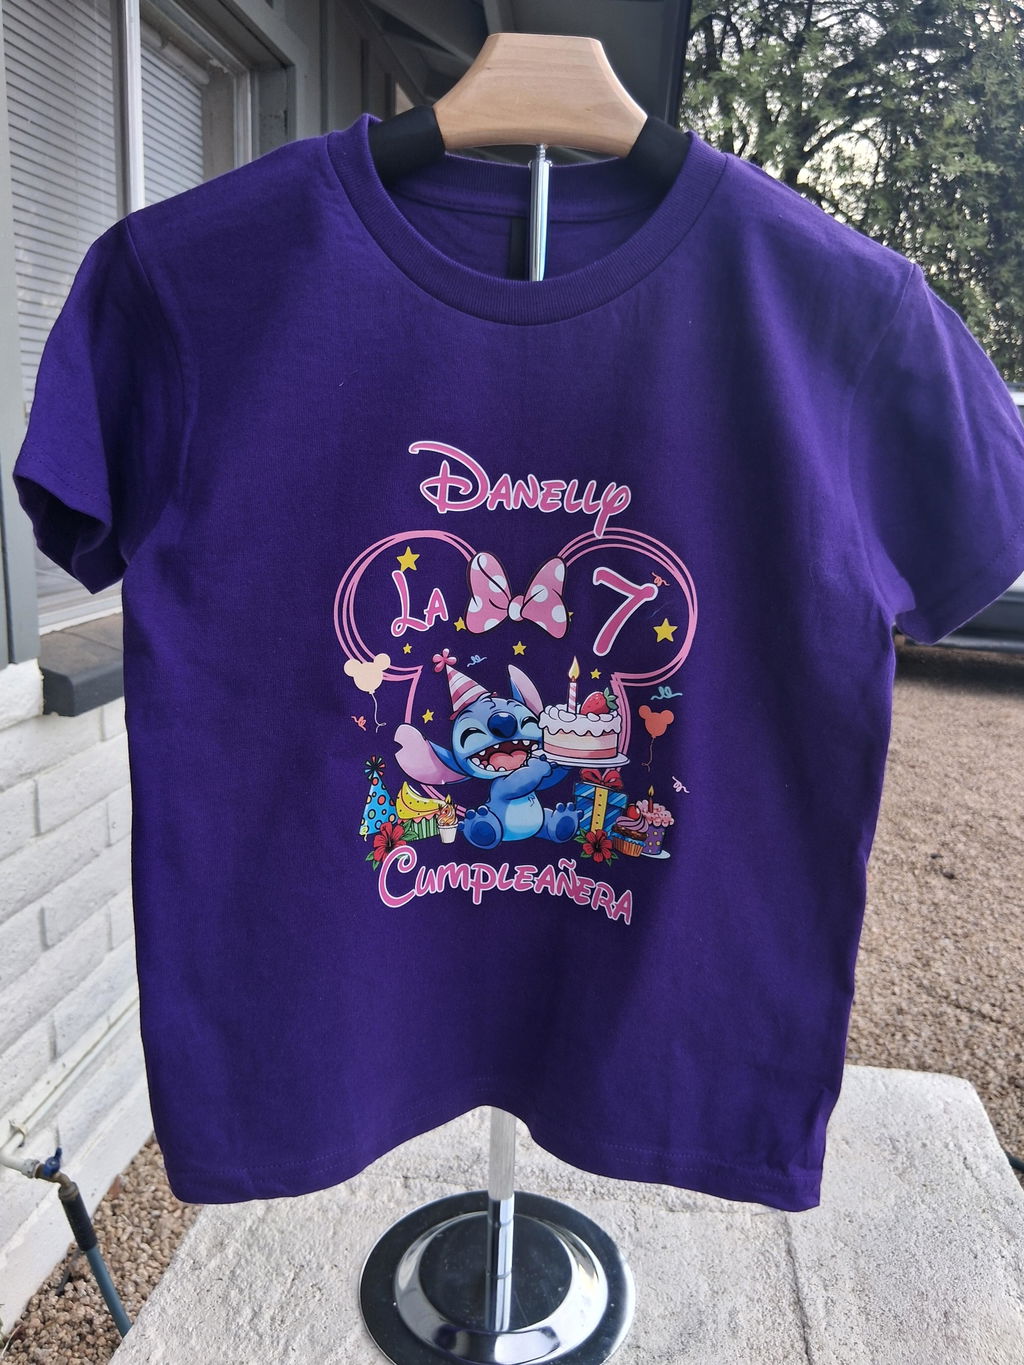
DTF - Build Gang Sheet is a smart and efficient way to print multiple designs on one sheet. It helps you save space, reduce waste, and prepare custom transfers for apparel projects.
This option is ideal for businesses, creators, schools, brands, and print shops that need flexible DTF transfer printing. You can arrange logos, graphics, names, numbers, and artwork on one gang sheet.
Create Custom DTF Gang Sheets
A gang sheet lets you place several designs together instead of ordering each design separately. This makes production faster and more cost-effective.
It is a great choice for bulk orders, small designs, left chest logos, sleeve prints, labels, and mixed artwork sizes. You can maximize the sheet area and get more value from every order.
Perfect for Apparel and Custom Projects
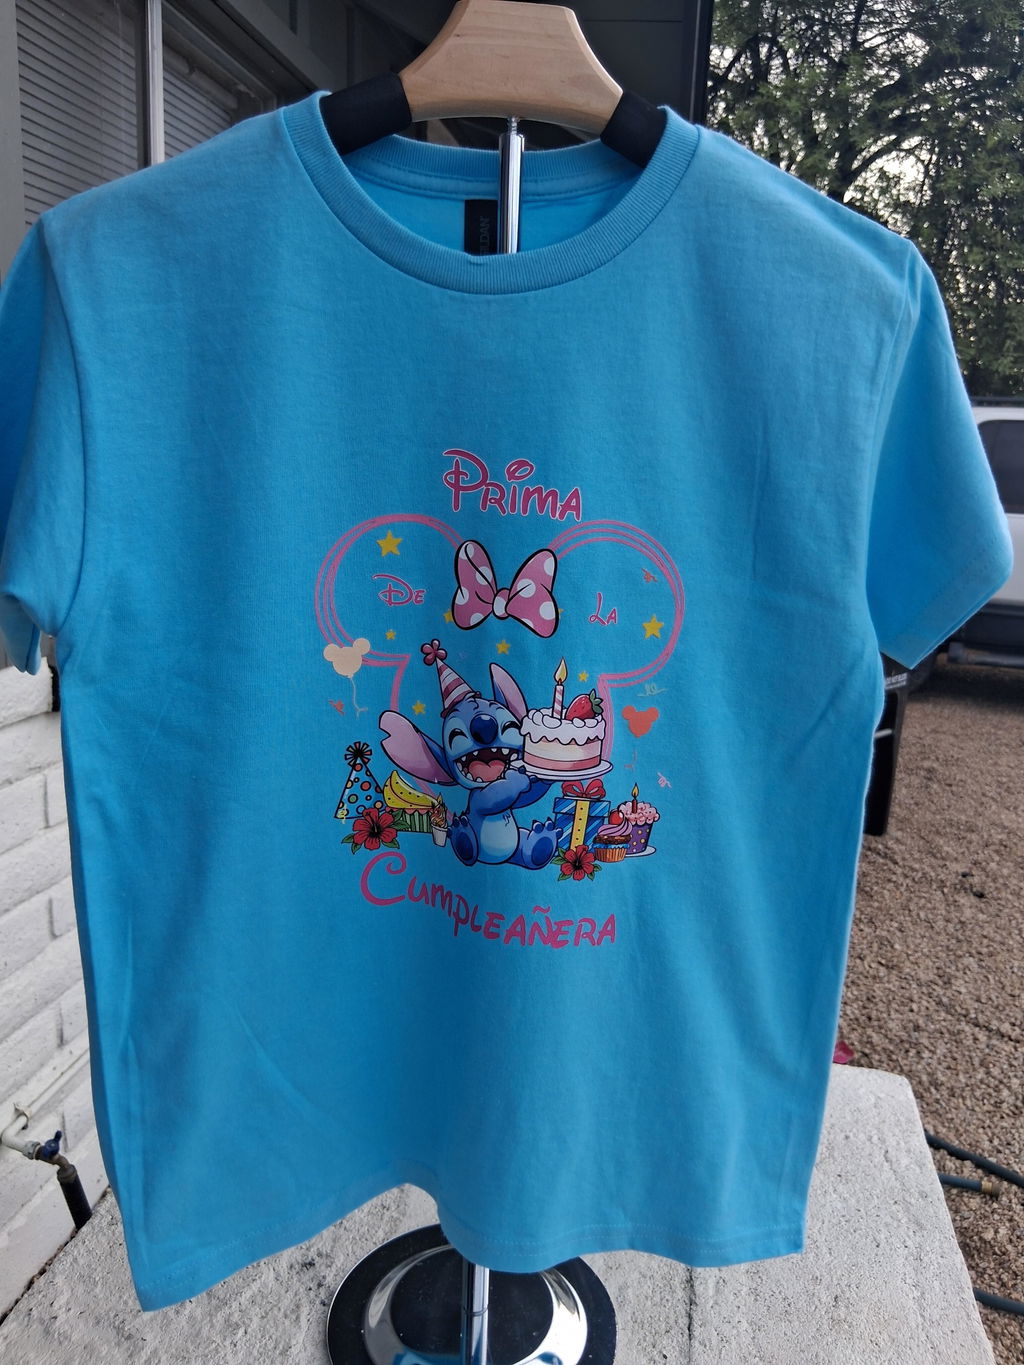
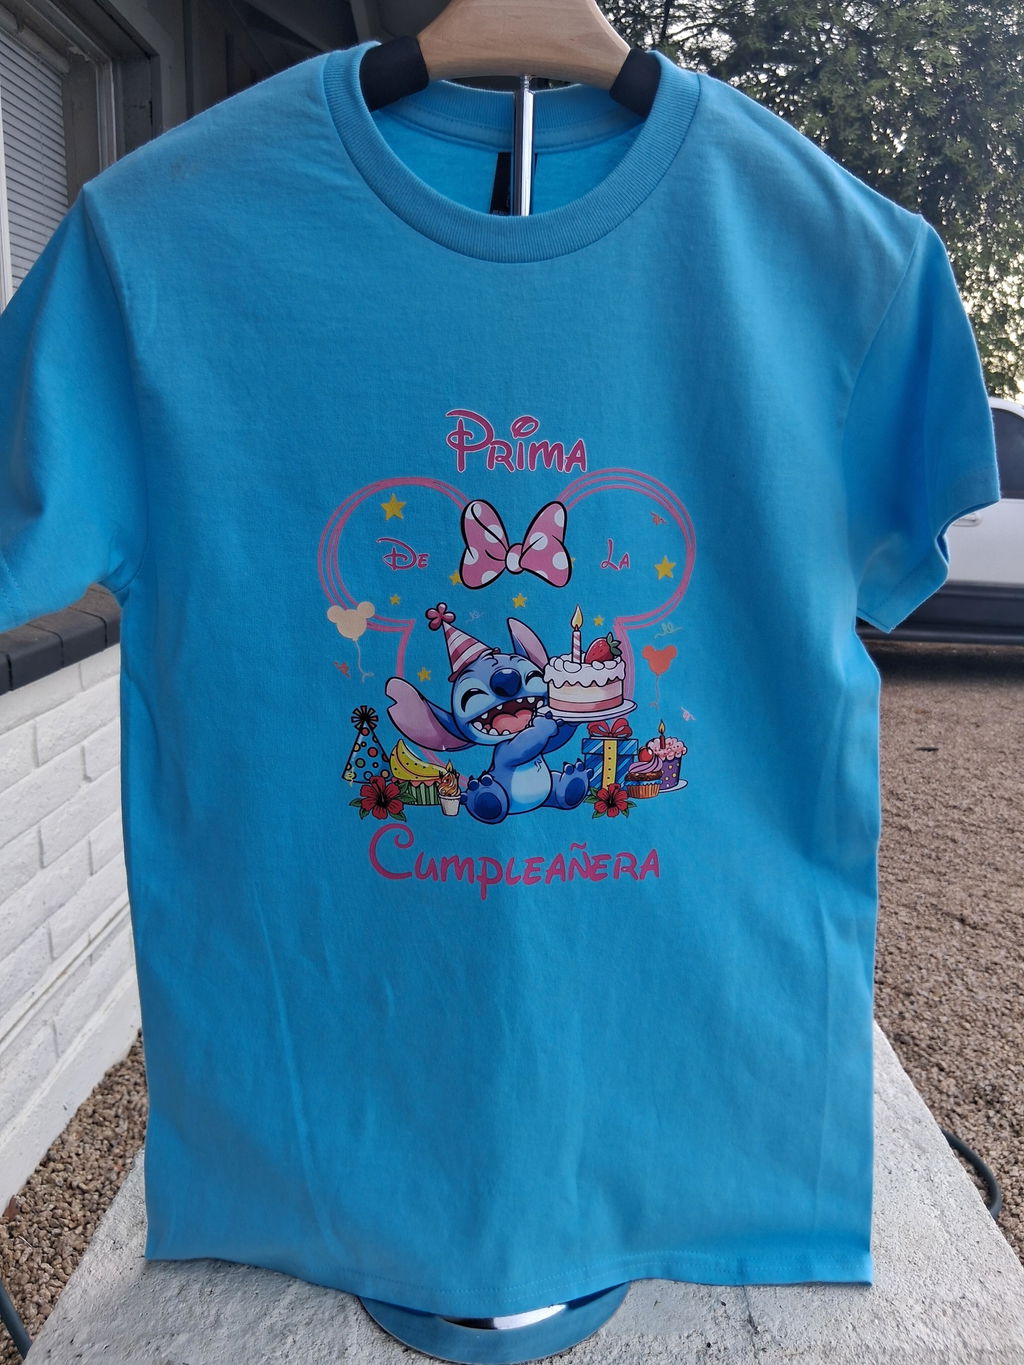
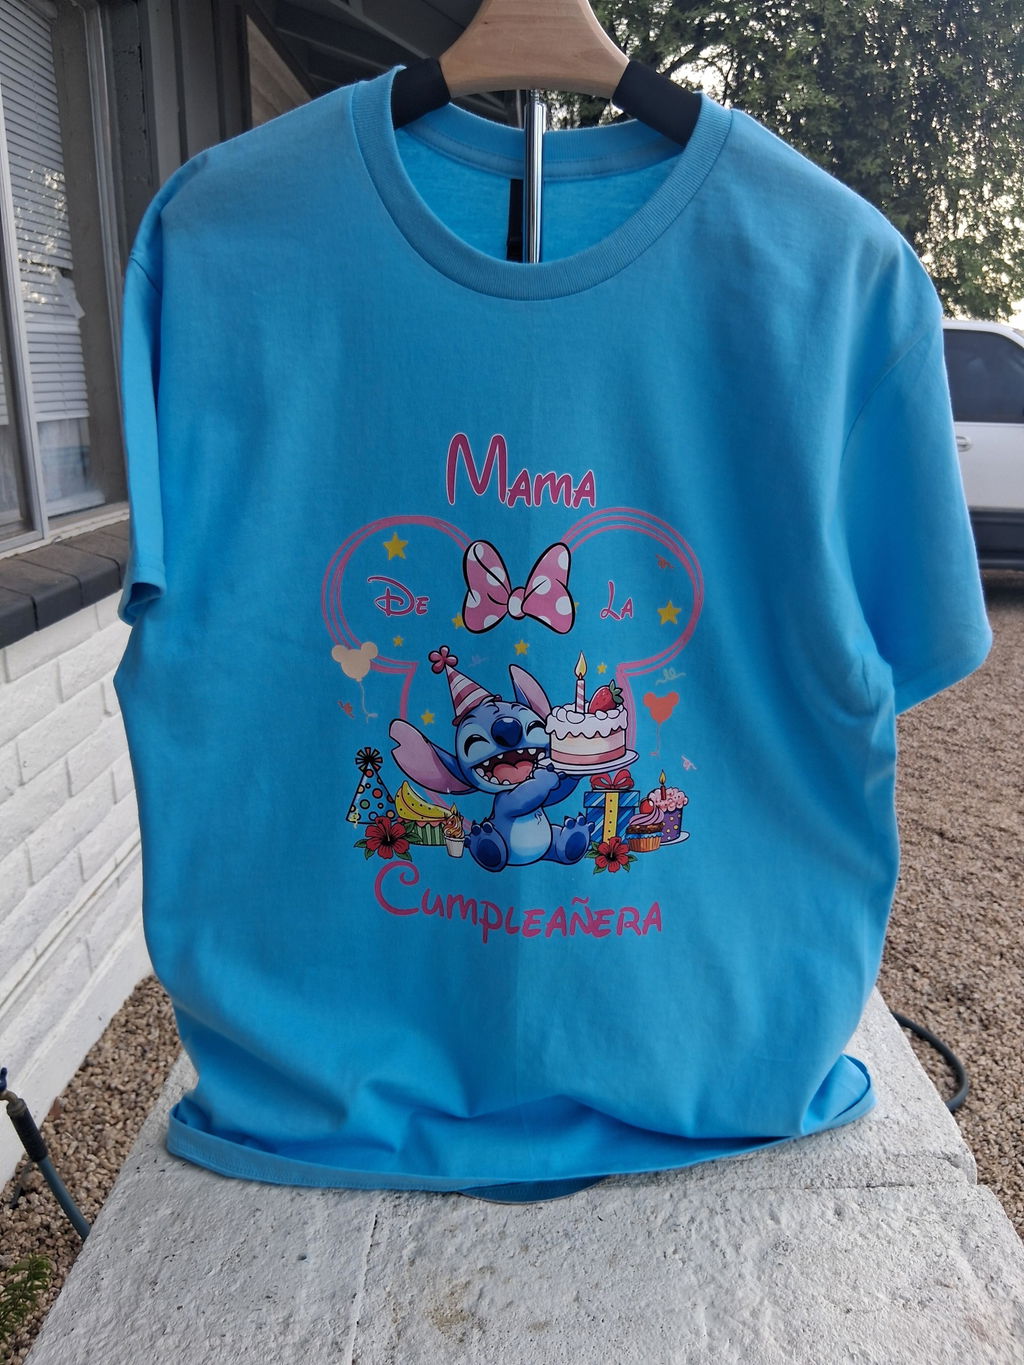
DTF gang sheets work well for t-shirts, hoodies, tote bags, uniforms, workwear, school apparel, and event merchandise. They are suitable for cotton, polyester, blends, and many other fabrics.
The transfers are made to deliver bright colors, sharp details, and durable results. They are easy to apply with a heat press and are a practical option for both small and large production runs.
Built for Easy Ordering and Production
With DTF - Build Gang Sheet, you can organize your artwork based on your project needs. This gives you more control over layout, sizing, and production planning.
For more custom printing options, visit Custom Print AZ. You can also order DTF Transfers by Size, browse ready-to-press DTF Transfers, and shop essential DTF Supplies.
Key Features
- Custom DTF gang sheet builder option
- Place multiple designs on one sheet
- Great for logos, graphics, names, and numbers
- Helps reduce material waste and order costs
- Ideal for t-shirts, hoodies, bags, and uniforms
- Supports bright colors and sharp print details
- Perfect for small businesses and bulk apparel orders
Why Choose DTF - Build Gang Sheet?
This product gives you flexibility, efficiency, and professional print quality. It is a simple way to prepare many designs for different apparel items in one order.
Whether you are creating branded merchandise, sports uniforms, staff shirts, or custom gifts, a DTF gang sheet helps keep your workflow organized and cost-effective.
To learn more about the general transfer printing process, visit this external resource on Wikipedia.
Need help with a custom order or bulk production?
Our team is ready to assist with artwork placement, large-volume orders, and custom apparel projects.
Phone: (480) 250-4263
Email: info@customprintaz.com
Address: 3411 East Corona Avenue Suite 108, Phoenix, Arizona 85040, USA
Contact Us for pricing, production assistance, and project support.
Free Shipping Available on Orders Over $99.
Product Features
Product Features
Custom Sizes Available: Pick from a variety of sizes to perfectly match your design needs.
High-Quality Prints: Get bright, vibrant colors with sharp details that stay strong over time.
Works on Different Materials: Suitable for cotton, polyester, blends, and even unique surfaces like leather.
Easy to Use: Just press and peel – no extra steps like weeding or pre-treating required.
Soft and Comfortable Feel: Keeps your garments light and smooth, without any stiff or heavy texture.
Long-Lasting Results: Stands up to over 60 washes without fading or cracking.
Same-Day Shipping: Place your order by 3 PM CT, and we’ll ship it out the same day. While rare delays may happen during busy times or technical hiccups, we work hard to get your order out quickly.
Upload Recommendations
Upload Recommendations
Accepted File Types: We can work with a range of files, such as PNG, JPEG, PDF, SVG, and more. For the best print results, vector files like AI or SVG are ideal.
Image Quality: If you’re using raster files, make sure your design is at least 300 dpi to guarantee clear, crisp prints without blurriness.
Size Accuracy: Upload your design in the same shape and proportions as your chosen print size to avoid resizing issues.
Color Settings: Set your file to the CMYK color profile for vibrant and accurate colors in your prints.
File Prep Made Easy: Clean up your design by removing unwanted backgrounds and ensuring your artwork is polished for the best outcome.
Size Information
Size Information
When selecting a size like 4"x4", 2"x4", or 6"x6", your design needs to match the shape of the chosen size (square or rectangle). If the shape doesn’t match, we’ll resize your design to fit the longer side while keeping it proportional, so it won’t look stretched or distorted.
Example: If your design measures 11"x7" and you select a 4"x4" size, we’ll adjust the longer side (11") to 4". The shorter side will automatically resize to maintain the original proportions, which means it may not end up as exactly 4".
To avoid changes to your design’s size, upload a file that already matches the shape of your selected size. If the proportions don’t align, we’ll resize it for you, but the shorter side may be smaller than the size you chose.
Pressing Instructions
Pressing Instructions
- No Pre-Press Needed: Skip the pre-press unless preferred.
- Position Your Design: Place the transfer as needed. Use heat-resistant tape for hats or irons if necessary.
- Press: Apply medium pressure at 310°F (155°C) for 8 seconds. Use parchment paper to prevent heat damage if testing.
- Instant Peel: Peel immediately after pressing, starting from a corner for smooth application.
Satisfaction Guarantee
Satisfaction Guarantee
Your satisfaction is our priority. Here’s how we ensure you’re happy with your DTF transfers:
- Free Reprints: If there’s a quality or adhesion issue caused by us, we’ll reprint your order for free.
- Easy Support: Not satisfied? Reach out within 14 days of receiving your order, and we’ll resolve any concerns promptly.
We’re dedicated to providing top-quality transfers you’ll love, every time!
Refunds & Reprints
Refunds & Reprints
- 14-Day Guarantee: Reach out within 14 days of receiving your order for a refund or reprint.
- Quality Issues: We’ll reprint orders if the problem is due to our error, like print quality or adhesion issues. Reprints won’t be issued for low-resolution uploaded files.
- Other Concerns: Refunds or reprints for non-quality issues require management approval.
Your satisfaction matters to us, and we’re dedicated to delivering a product you’ll love!