

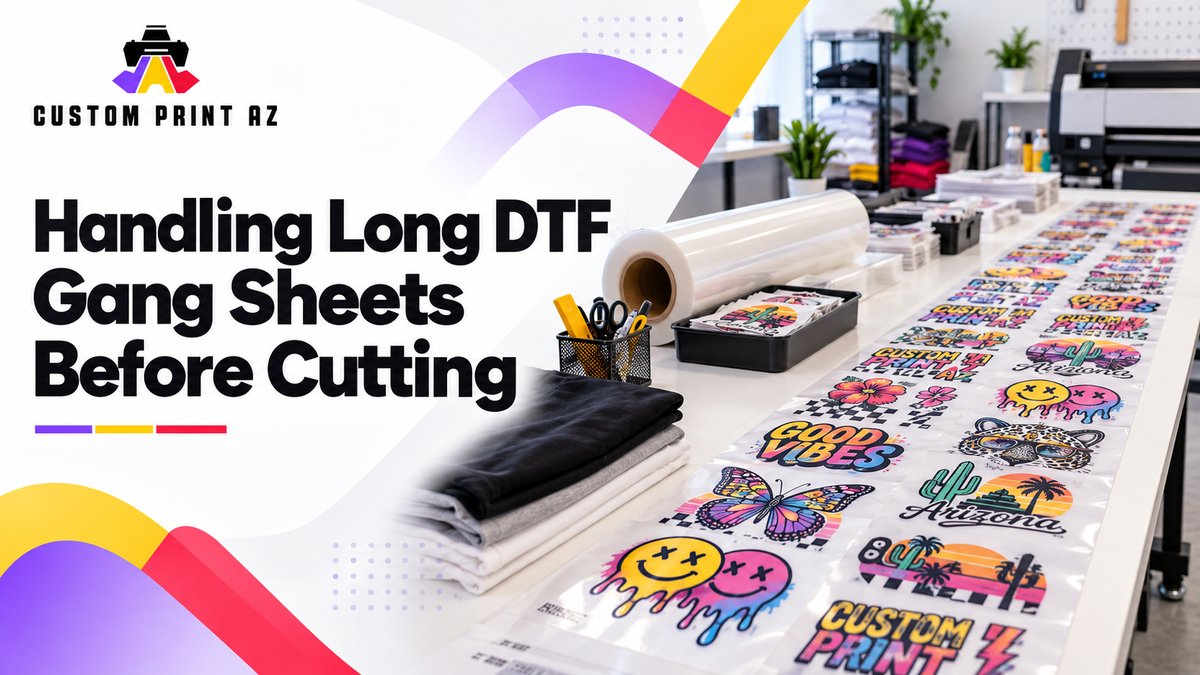
Working with a long DTF gang sheet can create a different kind of challenge than simply cutting individual transfers. Before the first cut is made, you may need to understand the full sheet, keep track of where each design group appears, and decide which section should be handled first.
A short sheet may be easy to review at a glance. As a sheet gets longer, it can become harder to see every design at once and remember exactly where you are in the workflow. Repeated logos, different sizes of the same artwork, or similar design groups can make it easier to lose your place.
That is why it can help to create a simple staging plan before cutting a long DTF gang sheet. The goal is not to teach a cutting technique. The goal is to make the sheet easier to follow by turning one long layout into a clear, manageable working sequence.
Start by Looking at the Entire Sheet as a Workflow

Instead of seeing a long gang sheet as nothing more than a series of designs placed one after another, it can be useful to think of it as a working sequence with a beginning and an end.
Before cutting anything, review the overall direction of the sheet and the general order of the artwork. You do not need to memorize every graphic. You only need enough of an overview to understand how the sheet is organized.
For example, one part of the sheet might contain a group of smaller repeated logos, another section might contain larger artwork, and the final area might return to a repeated design group. Recognizing that overall structure before cutting can make it easier to know where you are later.
This becomes especially useful when several designs look similar. Two sections may appear almost identical at first glance while actually containing different quantities, different physical sizes, or different intended groups.
Set a Consistent Sheet Orientation
One of the simplest ways to make a long gang sheet easier to manage is to establish a consistent orientation before starting.
You can treat one end as the beginning and the other as the end, then keep that same direction throughout the workflow. A simple “start side” and “finish side” may be enough. On a more complex sheet, you could use a sequence such as Section 1 through Section 5.
The exact labels are not important. What matters is keeping the same reference point.
A consistent orientation can reduce questions such as whether a particular logo appeared near the beginning or near the end of the sheet. It can also make it easier to resume the job if the work is paused and continued later.
Create a Simple Sheet Map Before the First Cut
You do not need a detailed technical drawing to map a long gang sheet. A short written reference can be enough to record the order of the main design groups.
For example, a simple sheet map might look like this:
- Section A: small repeated logos
- Section B: two large back designs
- Section C: two sizes of the same artwork
- Section D: related design group
- Section E: final repeated design group
These labels are only examples. Your own sections should reflect what is actually visible on the sheet.
The purpose of the map is not to create a new printing standard. It is simply to give each part of the sheet an easy reference. If one section is finished, you can immediately see what comes next. If the work stops partway through, the map can also help show which sections have already been handled and which ones remain.
Identify Design Groups Before You Start Cutting
Rather than treating every piece of artwork as an unrelated object, it can help to identify natural design groups in advance.
Several repeats of the same logo may form one group. Different physical sizes of the same design may need to be identified separately so they are not confused later. Designs that belong to the same production set may also be easier to follow when they are recognized as a group before cutting begins.
This does not mean you should rethink garment placement or redesign the production plan at this stage. Those decisions should already be established. The purpose here is only to recognize which pieces on the long sheet belong together from a workflow perspective.
If the same artwork appears in multiple sizes, relying only on visual similarity can become confusing. A short sheet map or existing job reference can make those groups easier to distinguish.
Do Not Try to Manage the Entire Sheet at Once
A long gang sheet can be easier to follow when you work through it section by section instead of treating the entire length as one active work area.
First identify the section you are working on. Compare that section with your sheet map. Confirm where the next section begins. Then focus only on the current group until you are ready to move forward.
This can reduce the need to keep scanning back and forth across the full sheet looking for artwork. It also makes the workflow less dependent on memory.
The word “section” here is only an organizational term. It is not a technical printing specification, and each section does not need to be the same physical length. One section may contain a single large design group while another contains several smaller repeated pieces.
Plan the Cut Sequence Before the First Cut

Planning a cut sequence does not mean deciding exactly how to cut the material. The important question here is not which tool to use or how close to cut around the artwork. The question is simply: Which section will you handle first, and what comes after it?
In some jobs, moving from the beginning of the sheet toward the end may be the clearest approach. In another job, it may make more sense to complete one related design group before moving to the next section.
What matters is that the working sequence remains understandable once cutting begins.
Jumping repeatedly between unrelated parts of a long sheet can make it harder to remember which sections are complete and which artwork is still on the sheet. A planned order gives the job a visible progression.
Any inspection of the printed result itself should remain a separate task. The DTF Gang Sheet Check Before Cutting guide focuses on what to verify on the printed sheet before physical cutting. This article focuses only on organizing a long sheet as a workflow.
Keep the Sheet Map Connected to a Simple Job Reference
If the gang sheet belongs to a specific order, garment set, or production job, it can help to make sure the sheet map is clearly associated with that job.
This becomes more useful when several gang sheets are being handled around the same time. The reference does not need to become a complicated fulfillment system. It only needs to provide enough context to recognize the sheet later.
A useful reference may help answer four simple questions:
- Which job or sheet is this?
- Which orientation am I using?
- Which sections are already complete?
- Which section comes next?
If the work will be paused, you can also note the last completed section and the next section to handle. That can make restarting the workflow easier without reviewing the entire sheet again from the beginning.
Use Short References When Artwork Looks Similar
Similar artwork can become harder to distinguish as you move through a long sheet.
The same logo may appear in different sizes. One design may appear several times. When that happens, relying only on memory can make the sequence harder to follow.
A short, descriptive reference can help. Instead of labeling two areas simply as “logo,” you might use working references such as “small logo group” and “large logo group.” These names do not need to be customer-facing. They only need to make the sections clear to the person handling the sheet.
The point is not to create a formal naming system. It is to reduce ambiguity when multiple areas of the gang sheet look alike.
Keep Staging Separate From Printed-Sheet Quality Control
Organizing a long gang sheet and checking whether the printed result is correct are two different jobs.
Staging asks questions such as:
- Which direction does the sheet run?
- Where do the main sections begin and end?
- Which design group comes next?
- Which sections have already been completed?
Printed-sheet quality control asks different questions, such as whether the expected artwork was printed and whether anything needs to be checked before cutting begins.
Keeping those tasks separate helps prevent the staging plan from turning into a quality-control checklist. The staging system should remain focused on organization, sequence, and maintaining a clear place in the workflow.
Do Not Turn This Into a Cutting Tutorial
This staging workflow ends at the first physical cut.
It does not establish which cutting tool to use, how to move around the artwork, or what physical cutting tolerance should be used. Those details should not be invented or treated as universal rules without verified instructions.
The broader question of whether a printed gang sheet can be separated into individual pieces before pressing is also a different problem. If you need guidance on that stage, Can You Cut a DTF Gang Sheet Before Pressing? covers the next part of the workflow.
Keeping this boundary clear is useful because the value of pre-cut staging comes from organization, not from teaching a specific cutting method.
Run a Final Readiness Check Before the First Cut
Once the long gang sheet has been staged, you can use a short readiness check before moving forward.
- Is the beginning and end orientation clear?
- Have the main design groups been identified?
- Is there a sheet map or similar section reference?
- Is the first working section clear?
- Do you know where the next section begins?
- Can similar artwork groups be distinguished from one another?
- If the job is paused, can you quickly find the restart point?
- If printed-sheet QC is needed, has it been handled separately?
These questions are not new production requirements. They are simply a way to confirm that the organization is clear before the sheet is separated into smaller working pieces.
The Goal Is to Keep the Working Sequence Visible
Managing a long DTF gang sheet does not necessarily require a complicated system. A consistent orientation, a simple sheet map, clear design groups, and a planned section sequence can make the sheet easier to follow before the first cut.
The main idea is to avoid keeping the entire workflow only in your head. As the sheet gets longer, the answer to “Where am I in this job?” should be easy to recover from a simple map or reference.
That keeps pre-cut staging focused on its actual job: preparing a long gang sheet for an understandable, controlled workflow without turning the process into a cutting tutorial, a printed-sheet quality check, or a post-cut routing system.


