

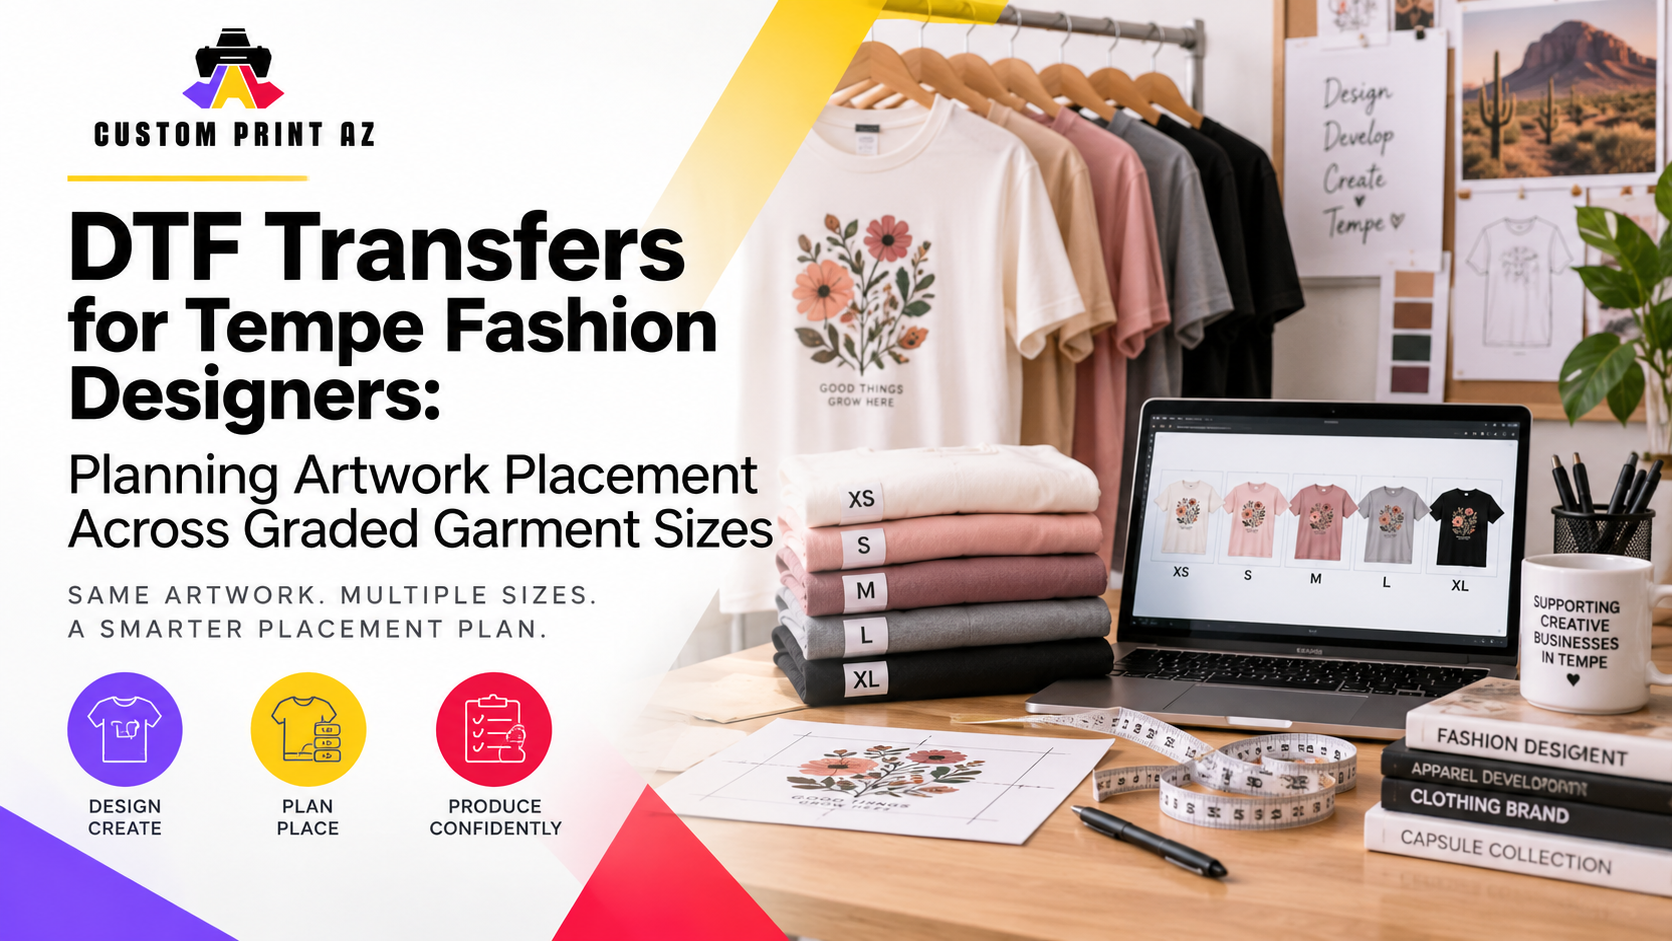
Using one artwork file across several garment sizes in a capsule collection can look straightforward on a production sheet. The design may stay the same, the garment style may stay the same, and the only visible change may be the size label. That does not mean the artwork placement should be treated as an automatic copy-and-paste decision.
For fashion designers, the more useful question is whether one placement specification continues to create the intended visual relationship as the garment changes through a size run. Sometimes it will. Sometimes a designer may prefer an adjustment. The important step is to make that decision deliberately instead of assuming that one setup fits every size.
This is a relevant production-planning problem for Tempe's fashion community. The City of Tempe's FY26 Creative Current grant information describes FABRIC Tempe programming that supports Arizona fashion designers and entrepreneurs with education, resources, networking, and business support. FABRIC's own fashion workspace also includes pattern-development resources and apparel-production tools. Those sources establish a real local fashion-development context; they do not prescribe a DTF placement method.
When a designer is preparing DTF transfers for a multi-size collection, a practical workflow is to document artwork dimensions and garment placement as separate production decisions, then review whether the same relationship should continue across the planned size range.
Treat Transfer Dimensions and Placement as Separate Decisions
Transfer dimensions and artwork placement influence each other, but they are not the same specification. A designer may intentionally keep one artwork size across several garments while evaluating where that artwork should sit on each one. In another collection, the designer may decide that both the dimensions and placement need to change.
Separating these decisions makes the production record clearer. Instead of one vague note such as “use the front logo,” the job can identify both the physical artwork size and the intended placement relationship.
Before moving into production, document two questions independently:
- What are the final dimensions of the artwork for this garment setup?
- What reference will be used to position that artwork on the garment?
This does not mean every garment size needs a different specification. It simply prevents the production workflow from assuming that an unchanged artwork file automatically answers the placement question.
Use a Reference Size as a Planning Tool, Not a Universal Rule
For a multi-size run, designers may find it useful to select one garment as a reference point. That could be a middle size or another size that makes sense for the collection. The purpose is not to declare that size the industry standard. It is simply to create a consistent starting point for comparison.
On that reference garment, the designer can record the basic setup:
- garment style or internal style code,
- garment size,
- approved artwork version,
- final transfer dimensions,
- intended placement area, and
- the reference used to position the artwork.
The neighboring sizes can then be reviewed against that reference. If the same placement specification continues to produce the intended visual result, there may be no reason to change it. If the relationship looks noticeably different, the designer can document an exception rather than rebuilding the entire production system.
This is a planning framework, not a claim that every fashion label must grade DTF placement in the same way.
Do Not Assume a Size Change Automatically Requires a Placement Change
A larger or smaller garment does not automatically mean that the transfer must move. The correct decision depends on the actual garment style, the intended visual effect, the artwork proportions, and the designer's own collection standards.
The goal is therefore not to create a different placement for XS, S, M, L, and XL by default. The goal is to verify whether the existing placement still makes sense.
A designer reviewing a size run can ask:
- Does the artwork still appear to sit in the intended visual zone?
- Does its relationship to the neckline, seams, or other garment features still look appropriate?
- Does the artwork remain balanced within the area the designer wants to use?
- Is there a particular size where the established placement begins to look noticeably different?
If the answer is consistent across the size range, the same placement note may be perfectly reasonable. If one or two sizes behave differently, those sizes can be recorded as exceptions.
Separate Garment Style From Garment Size
A capsule collection can include several silhouettes even when the artwork is shared across all of them. A classic T-shirt, cropped tee, oversized shirt, sweatshirt, or other garment may each present a different physical layout.
That makes garment style the first level of the placement plan and size the second.
Two garments marked “Medium” should not automatically be treated as the same placement environment simply because the size label matches. Their proportions and construction can differ. Likewise, the fact that one transfer placement works across the size range of Style A does not establish that it should be copied directly to Style B.
A simple production record might therefore be organized like this:
- Style A → Small → standard placement
- Style A → Medium → standard placement
- Style A → Large → standard placement
- Style B → Small → Style B placement
- Style B → Medium → Style B placement
The specific outcome will depend on the actual garments. What matters is that the designer does not collapse different silhouettes into one size-based rule without reviewing them.
Define the Placement Reference Clearly Enough to Reuse It
Terms such as “front print,” “center chest,” or “upper front” may describe the general location, but they can still leave too much room for interpretation when a design is reproduced later.
A useful placement note should tell the person preparing the garment what physical relationship the designer intended. The exact reference will depend on the garment and workflow, but it should be clear enough that another person could understand the setup without guessing from a photograph or old finished piece.
A placement record can include:
- the garment style,
- the garment size,
- the approved artwork version,
- the final transfer dimensions,
- the intended placement zone,
- the chosen physical reference, and
- any size- or style-specific note that changes the standard setup.
This turns placement into its own production specification instead of leaving it embedded in someone's memory.
Build a Simple Garment-and-Placement Matrix
A placement matrix does not need to become a complicated technical spreadsheet. Its job is simply to show which garment, artwork, and placement decisions belong together.
For a capsule collection, the designer may track:
- Garment style: which product or silhouette is being decorated?
- Size: which size in the planned run is being reviewed?
- Artwork: which approved artwork file applies?
- Transfer dimensions: what physical artwork size is planned?
- Placement: what placement zone and reference are being used?
- Status: does this garment use the standard setup or an exception?
The value of this matrix is visibility. A file named “logo-final.png” can tell a production team which artwork is approved, but it does not necessarily explain where that artwork belongs on several different garments. The matrix connects the digital file to the physical garment decision.
Use a Standard Setup Where It Works, Then Record Exceptions
Designers do not need to create a separate instruction sheet for every size when several garments use the same setup successfully. That can create unnecessary documentation and make the production record harder to maintain.
A cleaner option is to establish a standard setup for a defined garment style, then record exceptions only where the designer actually wants something different.
For example, if Small through Large use the same artwork dimensions and placement relationship, one shared specification may be enough. If Extra Small requires a different placement decision for that particular garment, it can be documented as an exception.
This approach keeps the system compact without hiding meaningful differences. It also makes it easier to see whether a change affects the artwork itself or only the way it is positioned.
Keep Artwork Version Control Separate From Placement Control
An artwork change and a placement change are not the same event.
A designer may keep the exact same approved artwork file but change the placement note for one garment style. In that case, creating a new artwork version simply to record placement could make the file system more confusing.
The reverse can also happen. The artwork file may be updated while the intended placement remains unchanged.
For that reason, it is useful to maintain at least two distinct pieces of information:
- the approved artwork version, and
- the approved placement specification for the garment setup.
This distinction is especially useful when one graphic appears across multiple pieces in a capsule collection. The artwork remains one creative asset, while the placement record explains how that asset is used on each garment configuration.
Finish Placement Planning Before Locking Production Quantities
This is not a guide to deciding how many units a fashion brand should produce. Quantity planning depends on the brand's own sales, inventory, launch, and business decisions.
However, it is useful to clarify the garment-and-placement structure before quantities are finalized. Otherwise, a designer can commit units to a garment setup before the physical artwork application has been clearly documented.
A practical sequence is:
- identify the garment styles in the capsule,
- define the planned size run for each style,
- confirm the artwork version,
- choose a reference setup for comparison,
- review the other planned sizes and styles,
- record the standard placement and any exceptions,
- complete the production placement notes, and
- then move forward with the brand's quantity decisions.
This keeps quantity from becoming the first decision in a workflow that still has unresolved garment-placement details.
A Pre-Production Placement Checklist for Tempe Fashion Designers
Before preparing a multi-size DTF order, a fashion designer can use this checklist to organize the collection:
- List each garment style separately.
- Record the planned size range for each style.
- Identify the approved artwork version.
- Choose a useful reference garment for placement comparison.
- Record the artwork dimensions and intended placement on that garment.
- Review the other planned sizes rather than assuming the first specification automatically fits all of them.
- Keep the same placement where it still produces the intended result.
- Document only the size or style exceptions that actually need a different specification.
- Keep artwork version and placement specification as separate production records.
- Finalize the collection's production quantities only after the planned garment setups are clear.
Build a Repeatable Placement System, Not a Different Rule for Every Size
For a Tempe fashion designer preparing a capsule collection, the goal is not to make DTF placement more complicated. It is to remove assumptions before the artwork reaches production.
Tempe's FABRIC ecosystem provides relevant local context because it supports fashion designers and apparel-development work in the city. The placement framework in this guide, however, is a practical DTF planning approach rather than a method prescribed by FABRIC or the City of Tempe.
Start with the actual garment styles in the collection. Define the artwork dimensions and intended placement on a useful reference setup. Review the other sizes and silhouettes. Keep the same specification where it works, and document an exception only where the designer wants something different.
That creates a production record that connects garment style, garment size, artwork version, transfer dimensions, and placement without forcing unnecessary variation into the collection.
Once those decisions are organized, designers can review designer DTF transfer options with a clearer specification set and prepare the production order around the collection they actually intend to make.


