

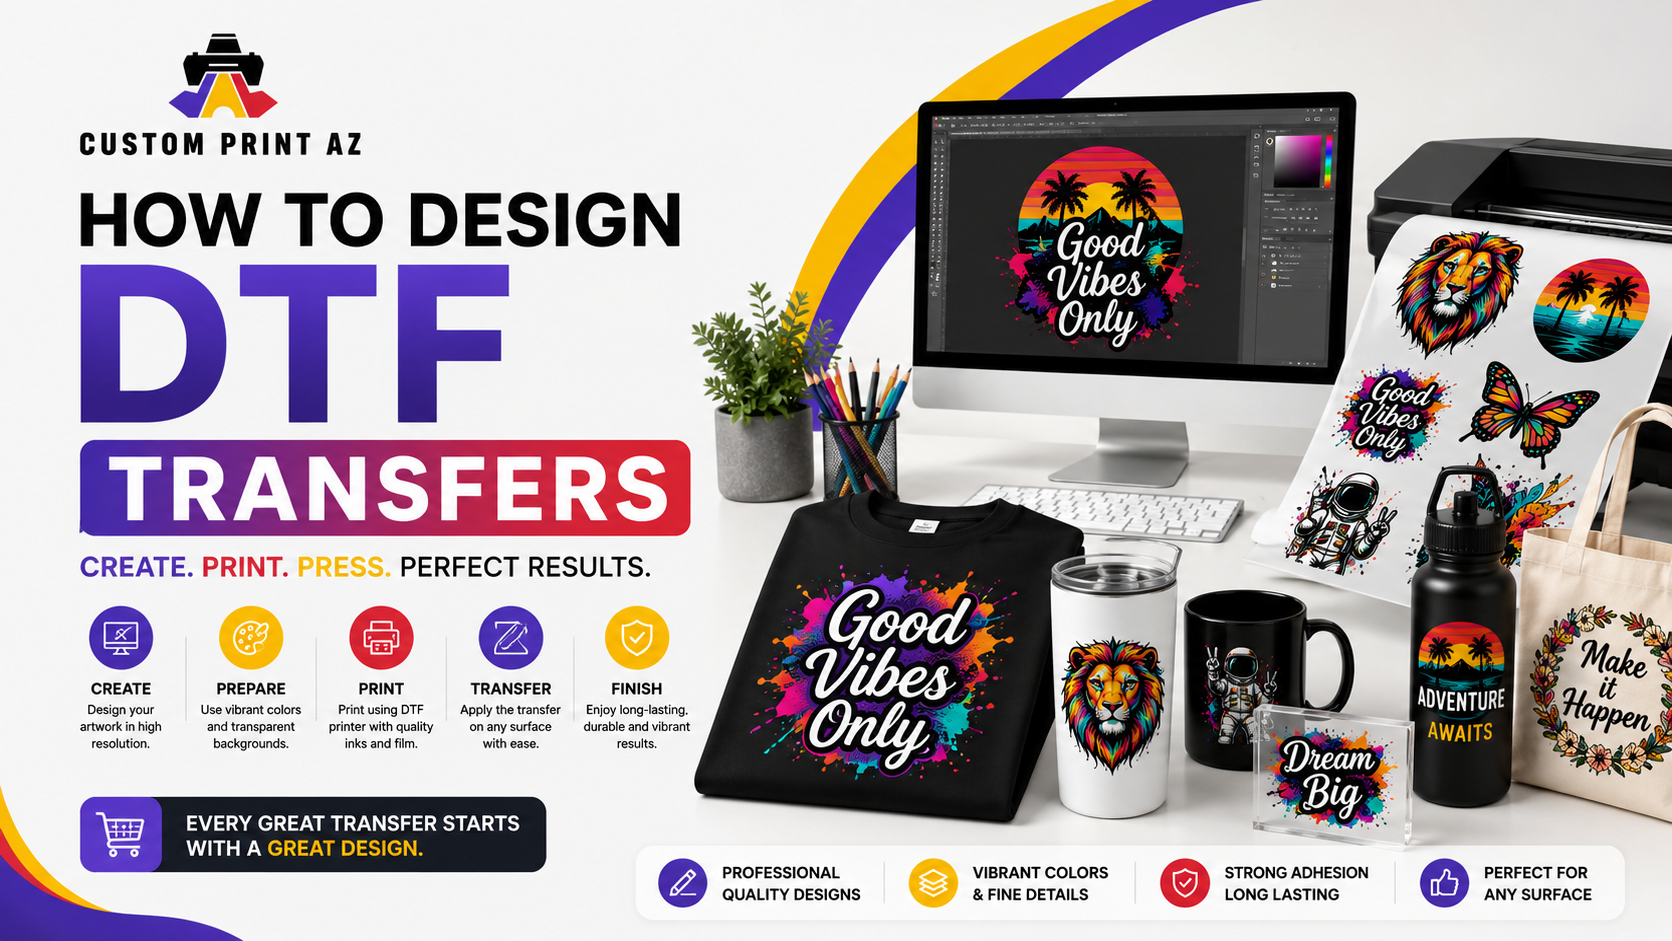
How to Design DTF Transfers: The Ultimate 2026 Graphic Guide
Creating beautiful apparel requires a deep understanding of modern digital design rules. The custom printing market moves forward exceptionally fast. Old-fashioned printing guidelines do not apply to contemporary film methods. Designers must update their technical habits.
Direct-to-film production gives creators incredible artistic freedom. You can print complex multi-colored artwork seamlessly. However, digital design files must meet strict mechanical requirements. This massive guide teaches you how to prepare flawless transfer artwork.
Design Guide Sections
- 1. Digital Foundations: Vector vs. Raster Graphics
- 2. Managing Color Spaces for Physical Curing
- 3. Transparency Secrets and Edge Transparency Problems
- 4. Building High-Efficiency Digital Gang Sheets
- 5. Typography Rules and Line Weight Minimums
- 6. Testing Digital Proofs and Sample Swatches
- 7. Submitting Your Files to Premium Print Vendors
1. Digital Foundations: Vector vs. Raster Graphics
Every great transfer design begins with choosing the correct file type. Graphic design tools generally produce two distinct types of digital data. You will work with either vector paths or raster pixel grids.
Vector graphics use mathematical formulas to build shapes, lines, and curves. Programs like Adobe Illustrator generate these clean, flexible files. Vector designs scale upwards indefinitely without losing their perfect edge sharpness. Learn more about vector graphics on Wikipedia.
Raster files use a fixed grid of individual pixels to build complex images. Photographic files always use this pixel-based format. When expanding a small raster file, the image becomes visibly blurry. Pixelated edges cause poor print quality on physical clothing.
If you must use raster artwork, check the resolution settings. Your working canvas must use a resolution of 300 DPI minimum. Low-resolution internet images look terribly pixelated when printed onto clothing.
2. Managing Color Spaces for Physical Curing
What you see on a glowing screen can look different on fabric. Computer screens display vibrant artwork using the standard RGB color space. This mode blends red, green, and blue light to generate colors.
Commercial film printing equipment operates inside a physical CMYK color space. Printers mix cyan, magenta, yellow, and black inks together. This fundamental difference means screens can display bright neon shades that physical ink cannot replicate.
| Design Space Factor | RGB Screen Environment | CMYK Print Environment |
|---|---|---|
| Primary Medium | Emitted digital light pixels | Physical liquid chemical inks |
| Maximum Brightness | Extremely high neon luminosity | Standard reflective natural finish |
| Target Workspace Use | Websites and social media posts | Commercial garments and packaging |
Convert your active design canvas into CMYK mode before finalizing details. This color conversion reveals any unexpected shifts early in your workflow. It allows you to adjust dull color tones before submitting the file.
The Power of White Ink Layers
Direct-to-film machines print a solid white ink layer directly behind your colors. This white backing makes your designs fully opaque on dark shirts. Clean color data helps the software apply this backing perfectly.
3. Transparency Secrets and Edge Transparency Problems
Managing alpha channel transparency is a critical step in transfer design. Your custom graphics must feature completely transparent background layers. Any lingering white background blocks will print as solid shapes on your apparel.
Avoid using soft, semi-transparent edges or glowing drop shadows. Digital printers apply a solid white backing layer beneath all visible pixels. If a pixel is semi-transparent, the white backing can peek through around the edges.
This issue creates a distracting white outline around your smooth gradients. Ensure your design edges are sharp, crisp, and entirely solid. Use hard masking tools to remove any faint, stray background pixels cleanly.
4. Building High-Efficiency Digital Gang Sheets
A gang sheet allows you to place multiple graphics onto a single printing roll. This technique saves space and lowers production costs significantly. It helps you get the maximum value from your printing budget.
Set up your master artboard to match the exact width required by your printer. A standard commercial width is twenty-two inches wide. You can extend the canvas length downward as far as your project requires.
Leave a clean margin of at least 0.5 inches between different logos. This empty space gives you plenty of room to cut out individual designs safely. It prevents you from accidentally slicing into nearby graphics later.
Common Overlapping Mistakes
Never let the invisible boundary boxes of your files overlap each other. Overlapping bounding boxes can confuse automated print systems. This error can create unwanted blank areas in your finished prints.
5. Typography Rules and Line Weight Minimums
Small, delicate design elements require special attention during preparation. Very fine lines may not hold enough adhesive powder during production. If a line lacks adhesive, it will peel off the garment during washing.
Maintain a minimum line thickness of 0.02 inches for all parts of your artwork. If your design features thinner lines, thicken them slightly using stroke adjustments. This step ensures every detail bonds permanently to the fabric.
Convert all text layers into solid vector paths before saving your work. If a print shop lacks your specific font file, the text can distort. Turning text into outlines preserves your typography style perfectly on any computer.
6. Testing Digital Proofs and Sample Swatches
Never launch a massive print run without inspecting a sample first. Zoom in close to your artwork at a 400 percent view level. This close inspection reveals hidden pixel errors and ragged edge lines clearly.
Print your finished digital layout onto standard paper using a home printer first. This simple test helps you verify the real-world scale of your graphics. It ensures your chest logos and sleeve labels are sized correctly for your clothing sizes.
7. Submitting Your Files to Premium Print Vendors
Once your digital layouts are flawless, select a premier manufacturing partner. Sourcing from a top-tier print house guarantees excellent color depth and wash durability.
We highly recommend utilizing the commercial printing services at Custom Print AZ. They use industrial-grade production systems to maintain incredible detail sharpness. Their streamlined platform makes uploading your custom artwork quick and simple.
You can check out their dedicated ordering options directly. Browse their full collection of high-durability DTF transfers online. This collection provides reliable production solutions for independent clothing lines and commercial shops alike.
Working with a professional supplier lets you focus your energy on marketing and creative design. It eliminates the stress of maintaining expensive machinery and dealing with clogged printheads. It keeps your apparel production workflow smooth, profitable, and efficient.


