

How to Print UV DTF Transfers: The Ultimate Production Guide
The custom merchandise industry is growing rapidly. Business owners constantly seek innovative customization methods. Traditional printing techniques often face physical limitations. UV DTF printing solves these common production challenges.
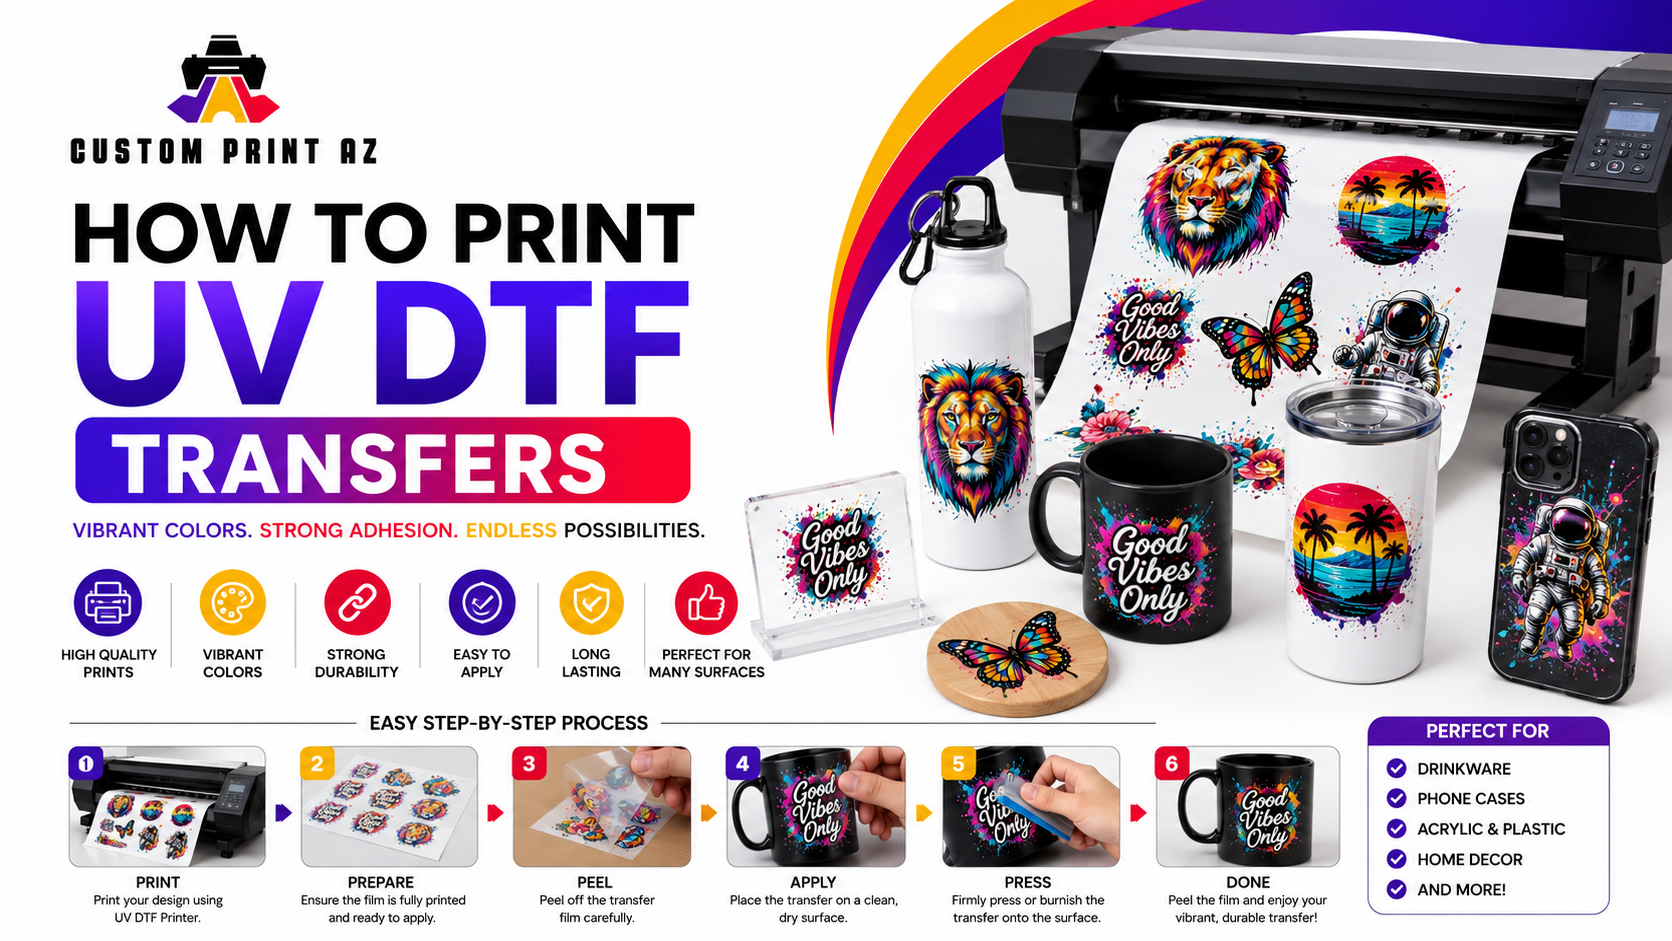
This modern technology creates highly durable sticker transfers. It requires no heat press for final application. You can apply these designs to hard surfaces easily. This comprehensive guide covers the entire printing process step by step.
Guide Directory
1. What is UV DTF Printing?
UV DTF combining ultraviolet curing technology with direct-to-film transfer methods. It utilizes a specialized digital inkjet printer. The printer applies ultraviolet-curable inks onto a primary film layer. Instantly, strong ultraviolet lamps cure the liquid ink drops.
The process creates prints with structural dimension. It layers white ink, color ink, and clear varnish systematically. This build-up generates a distinct three-dimensional texture. The final look mimics high-end direct industrial printing.
This technology uses specialized chemical compounds. The inks are engineered to cure under specific light wavelengths. You can learn more about the science of UV curing on Wikipedia. This cross-linking process creates an incredibly durable bond.
Unlike standard garment decoration, this method targets rigid items. It works perfectly on glass bottles, ceramic mugs, and metal flasks. It adheres beautifully to wood panels, hard plastics, and slate materials. The versatility opens brand new product lines for print shops.
2. Required Equipment and Materials
You cannot use a regular document printer for this method. Industrial setups require highly specialized hardware components. Investing in the proper tools ensures commercial-grade output quality.
First, you need a dedicated UV DTF printer. These machines feature specialized printhead configurations. They must handle multiple fluid types simultaneously. They also require built-in white ink circulation systems.
Second, you need specialized consumables. The process requires Film A, which carries the initial adhesive layer. You also need Film B, which acts as the protective transfer tape. Premium quality films prevent unexpected silvering issues during lamination.
If you prefer to bypass equipment maintenance, outsourcing is smart. You can buy pre-printed designs easily. Discover professional options at Custom Print AZ today. They manage the technical production machinery for you.
| Material Component | Primary Function | Key Quality Indicator |
|---|---|---|
| Film A (Base Film) | Holds the print and adhesive glue | High dimensional stability under heat |
| Film B (Laminating Film) | Transfers design to final object | Balanced tackiness for easy peeling |
| UV Varnish | Provides glossy scratch protection | High optical clarity without yellowing |
You must use specific UV-curable textile inks. These formulas maintain flexibility after curing. Standard rigid UV inks might crack when peeled from the carrier film. Always match your ink formula to your specific film brand.
3. Artwork Preparation Guidelines
Perfect prints begin inside your graphic design software. Raster images must have high resolution. Aim for 300 pixels per inch minimum. Low-resolution artwork creates jagged, pixelated print edges.
Vector graphics offer the absolute best production results. They scale infinitely without losing structural sharpness. Keep your design background perfectly transparent. Any solid white background blocks will print as white ink circles.
You must configure your spot color channels correctly. The RIP software needs specific paths for white and varnish layers. Name your spot channels exactly as your software manual dictates. Incorrect naming conventions break the automated printing queue.
For large production runs, utilize gang sheets. Arrange multiple designs closely on a single layout page. Leave exactly one-quarter inch between individual graphics. This space allows for safe manual cutting later.
If you are exploring diverse decoration types, check alternative methods. Examine standard DTF transfers for fabric customization projects. Different jobs require different specialized technical approaches.
Important File Check
Always double-check your transparency layer before sending files to the print queue. Tiny stray pixels can trigger accidental white ink dots. Clean your design canvases thoroughly.
4. The Step-by-Step Printing Process
Start by powering on your machinery. Run a manual printhead nozzle check. This step ensures every ink channel fires correctly. Missing lines cause visible banding across your final transfers.
Load Film A into the feeding mechanism. Ensure the printable adhesive side faces upward. Adjust the media guide tension carefully. The film must track perfectly straight through the printing bed.
- Perform a nozzle check to verify ink consistency.
- Load the adhesive-coated Film A into the printer.
- Send the prepared artwork file through the RIP software.
- Monitor the ultraviolet lamps during the print cycle.
The printheads will deposit three distinct layers sequentially. First, the machine prints the white ink base layer. Second, it applies the colored CMYK image directly on top. Finally, it drops the clear glossy protective varnish coating.
The integrated ultraviolet lamps follow the printheads closely. They emit strong light to solidify the liquid layers immediately. Ensure your vacuum bed is active. The suction keeps the film flat, preventing costly printhead strikes.
5. The Crucial Lamination Stage
Lamination seals the printed graphics permanently. It bonds the cured inks to the Transfer Film B. This step requires a roll laminating machine. Manual lamination often introduces destructive air pockets.
Set your laminator to the recommended warm temperature setting. Most professional films require around 120°F to 140°F. Mild heat softens the adhesive slightly. This softening ensures a flawless, bubble-free bond across the sheet.
Feed the printed Film A and Film B together slowly. The pressure rollers must exert firm, even force. Watch the exit side carefully for any wrinkling. Creased film completely ruins the underlying graphics.
Once laminated, trim the individual designs using sharp scissors. Store the cut transfers in a dust-free storage container. Keep them away from direct sunlight exposure. Ambient UV rays can degrade the adhesive properties over time.
6. Troubleshooting Common Print Issues
Poor ink adhesion usually signals incorrect curing lamp intensity. Lamps lose power as they age over time. Check your lamp hours regularly. Clean the protective quartz glass over the lamps weekly.
Silvering describes tiny air bubbles trapped under the lamination film. This happens when roller pressure is insufficient. Increase the laminator pressure slightly. Slowing down the lamination speed also eliminates silvering effectively.
If the design lifts off the target object, check your cleaning habits. Hard substrates collect oils from human fingers. Wipe every surface with isopropyl alcohol before application. Cleaning guarantees a strong, permanent chemical bond.
7. How to Apply the Final Transfers
Applying the completed transfer is incredibly straightforward. It requires no complex industrial machinery. First, clean the target item thoroughly. Let the surface dry completely before proceeding.
Peel the thick carrier Film A away carefully. Your printed design should stick firmly to the clear Film B. Position the graphic over your object precisely. You cannot reposition the sticker once it touches the surface.
Press the transfer down starting from the center outward. Use a plastic squeegee tool to apply heavy manual pressure. Rub the entire design firmly. Pay extra attention to thin text lines and sharp corners.
Carefully peel away the clear Film B transfer tape slowly. Keep the tape flat against the surface while pulling. If any design edge lifts, press it down again. Rub the lifted area firmly before attempting to peel again.
Skip the Production Hassle Today
Printing requires expensive machinery and tedious maintenance. You can get professional results without buying a costly UV printer setup.
Order custom prints directly from Custom Print AZ. Browse our high-quality DTF transfers collection for your business needs.
Order Custom Transfers Now

