

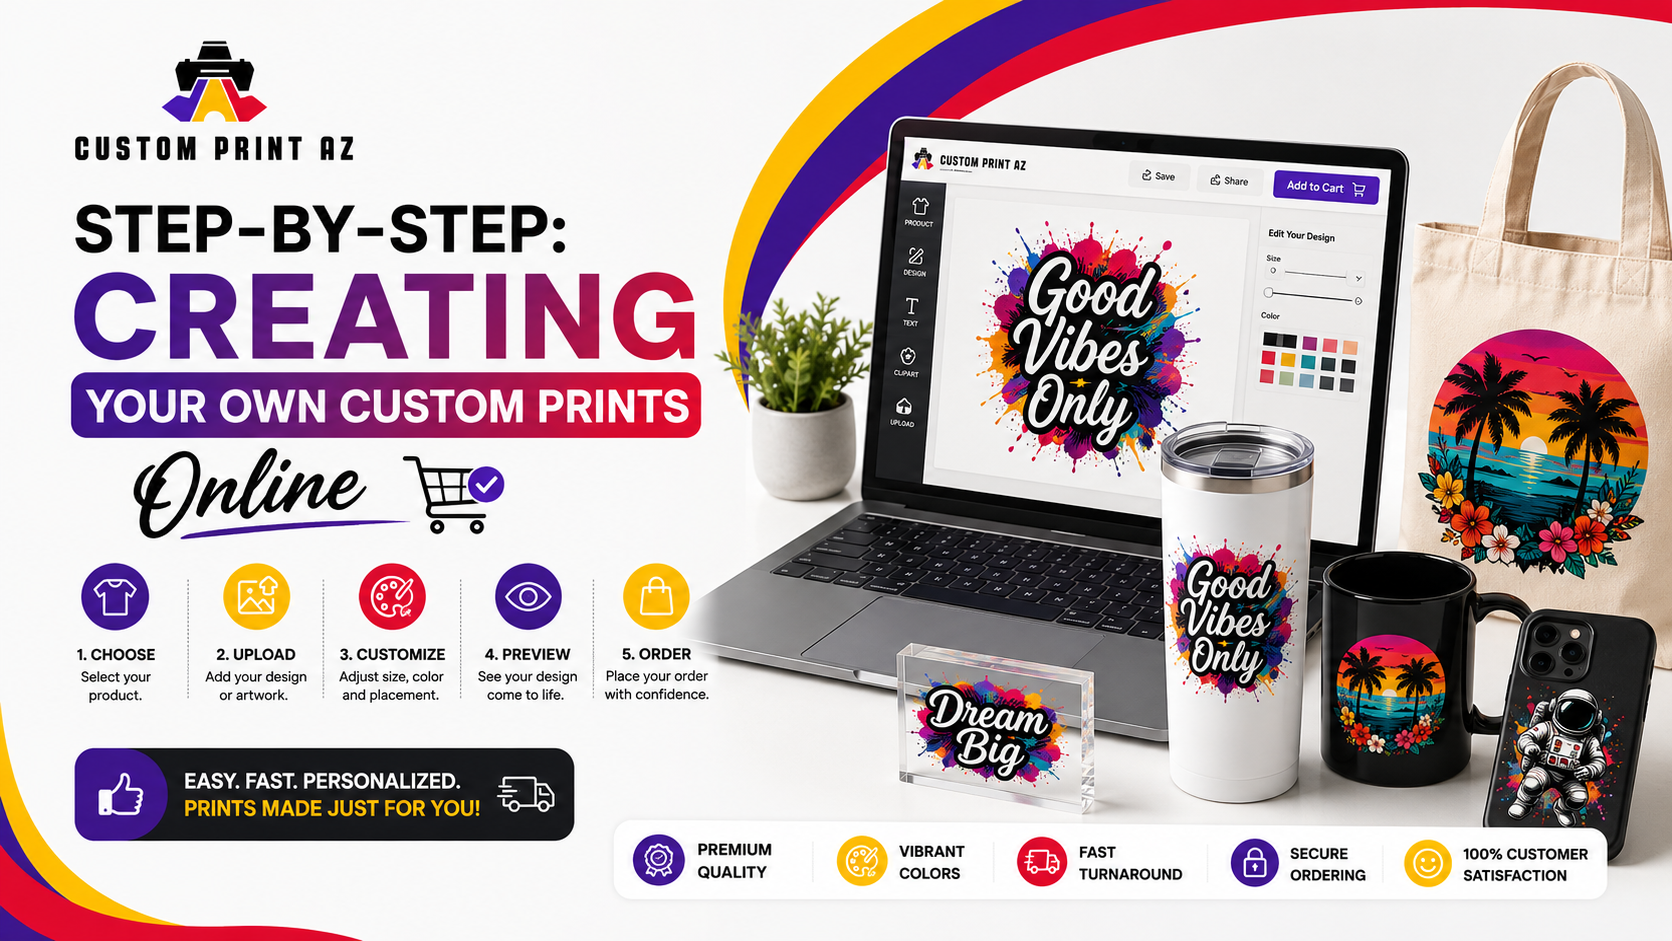
Step-by-Step: Creating Your Own Custom Prints Online
Launching a custom apparel collection has never been easier for digital creators. Modern cloud-based manufacturing tools have eliminated the need for expensive workshop space. Anyone with a creative spark can design and distribute physical apparel online seamlessly.
Direct-to-film logistics handle the entire physical manufacturing step for your brand. However, your digital file setup determines the final physical quality of your clothing items. This massive operational guide covers the exact step-by-step process of designing artwork online.
Step-by-Step Guide Sections
- 1. Conceptualizing Your Apparel Design Strategy
- 2. Selecting the Right Digital Graphic Software Tools
- 3. Setting Up Your Artboard Parameters Correctly
- 4. Organizing High-Density Digital Gang Sheets Online
- 5. Exporting Production-Ready File Formats Correctly
- 6. Submitting and Inspecting Your Final Digital Order
- 7. Sourcing Premium Commercial Transfers Online
1. Conceptualizing Your Apparel Design Strategy
Every successful clothing product line starts with clear visual market research. You must identify what visual themes appeal directly to your target audience. Avoid creating random artwork without analyzing current cultural trends first.
Consider the color palette of the garments you plan to customize. A dark graphic will completely disappear against a black or charcoal fabric background. Plan contrast tones early to ensure your graphics stand out clearly.
Think about where you want to place the design on the clothing item. Standard center-chest logos require different proportions than long sleeve or pocket prints. Sketch out your placement ideas to establish correct size frameworks early on.
Understanding the history of visual communication can help refine your modern brand concepts. Explore the fundamentals of graphic design on Wikipedia for professional artistic insights.
2. Selecting the Right Digital Graphic Software Tools
Your choice of digital design software directly impacts your final print output. Professional designers prefer advanced vector-based software applications over basic photo editors. These tools ensure your artwork retains perfect edge sharpness at any size.
Adobe Illustrator remains the leading standard software across the garment decoration industry. CorelDraw also provides exceptional path management control tools for hardware manufacturing. These platforms generate pristine vector lines that never pixelate during production scaling.
| Software Platform | Graphics Core Type | Target Workspace Skill Level | Best Direct Print Use Case |
|---|---|---|---|
| Adobe Illustrator | Mathematical Vectors | Professional / Commercial Designers | Sharp logos, clear text, bold vector shapes |
| Adobe Photoshop | High-Res Pixels | Advanced Digital Photographers | Detailed paintings, complex photographic collages |
| Canva Pro Edition | Hybrid Cloud Elements | Beginner / Independent Store Owners | Quick layouts, simple text combinations |
If you prefer using free software alternatives, explore vector programs like Inkscape. For pixel-based raster photography artwork, GIMP provides excellent high-resolution canvas controls. Avoid using basic phone apps that compress your images heavily.
3. Setting Up Your Artboard Parameters Correctly
Do not open a blank canvas without adjusting the document setup values first. This fundamental oversight can result in blurry, distorted physical prints later. Your workspace dimensions must match the real-world dimensions of your finished product.
Set your digital measuring units to inches instead of screen pixels. This adjustment ensures you know exactly how large the graphic will print on fabric. A standard full-size chest graphic measures approximately ten to twelve inches wide.
Configure your document resolution to 300 dots per inch minimum. Low resolution files look extremely pixelated and rough when scaled up on heat presses. High resolution values preserve small details and delicate linework perfectly.
The CMYK Color Rule
Always switch your active workspace color profile from web RGB to commercial CMYK mode. This conversion ensures your screen colors match physical liquid inks accurately. It prevents dull colors after printing.
4. Organizing High-Density Digital Gang Sheets Online
Digital gang sheets allow you to combine multiple graphics onto a single printing roll. This method cuts down material waste and maximizes your purchasing power. It is the most economical way to print transfers online.
Set your master canvas width to the exact specification required by your print shop. A standard commercial printing roll width measures twenty-two inches wide. You can extend the canvas length downward to fit all your graphics.
Leave a clean margin of at least half an inch between different logos. This spacing allows you to cut out individual designs safely with scissors. It prevents you from accidentally slicing into nearby graphics later on.
Check Hidden Bounding Boxes
Ensure the invisible bounding frames of your artwork elements do not overlap. Overlapping frames can cause errors in automated printing systems. Keep every design asset inside its own separate space.
5. Exporting Production-Ready File Formats Correctly
Saving your design file correctly is the final step in the digital design process. Selecting the wrong export settings can ruin hours of careful design preparation. Your final print files must preserve alpha channel transparency completely.
Save your work as a high-resolution Portable Network Graphics file with transparency enabled. This format preserves clean, see-through background layers around your shapes perfectly. It ensures the machine prints only your intentional design elements.
Alternatively, you can export your vector artwork as a clean PDF or EPS file. Vector files keep text layers sharp and preserve pristine geometric outlines perfectly. Make sure to convert all text layers into solid vector paths before saving.
6. Submitting and Inspecting Your Final Digital Order
Before uploading your file to an online vendor, perform a final visual audit. Zoom into your graphics at 400 percent to inspect the edge quality closely. Look for any faint background pixels that might print as unwanted white spots.
Print your finished layout onto standard office paper using a home printer first. Hold the paper up against a blank t-shirt to verify the real-world scale visually. This quick step helps you fix sizing mistakes before ordering your prints.
7. Sourcing Premium Commercial Transfers Online
Once your digital design files are perfect, select a reliable online printing partner. Sourcing from a premier manufacturer guarantees beautiful colors and exceptional wash durability. Look for a vendor that uses industrial systems and premium raw ingredients.
We highly suggest utilizing the advanced digital printing services at Custom Print AZ. Their advanced production lines maintain strict quality control standards. They ensure your custom designs print with crisp details and vibrant color accuracy.
You can check out their specialized product options directly on their platform. Explore their premium collection of high-durability DTF transfers online. This flexible system handles small custom boutique orders and high-volume commercial runs with equal precision.
Outsourcing your printing to a dedicated production house simplifies your entire workflow. It allows you to offer unlimited color options without dealing with messy ink maintenance. It keeps your business agile, profitable, and focused on client satisfaction.


