

DTF Transfers by Size

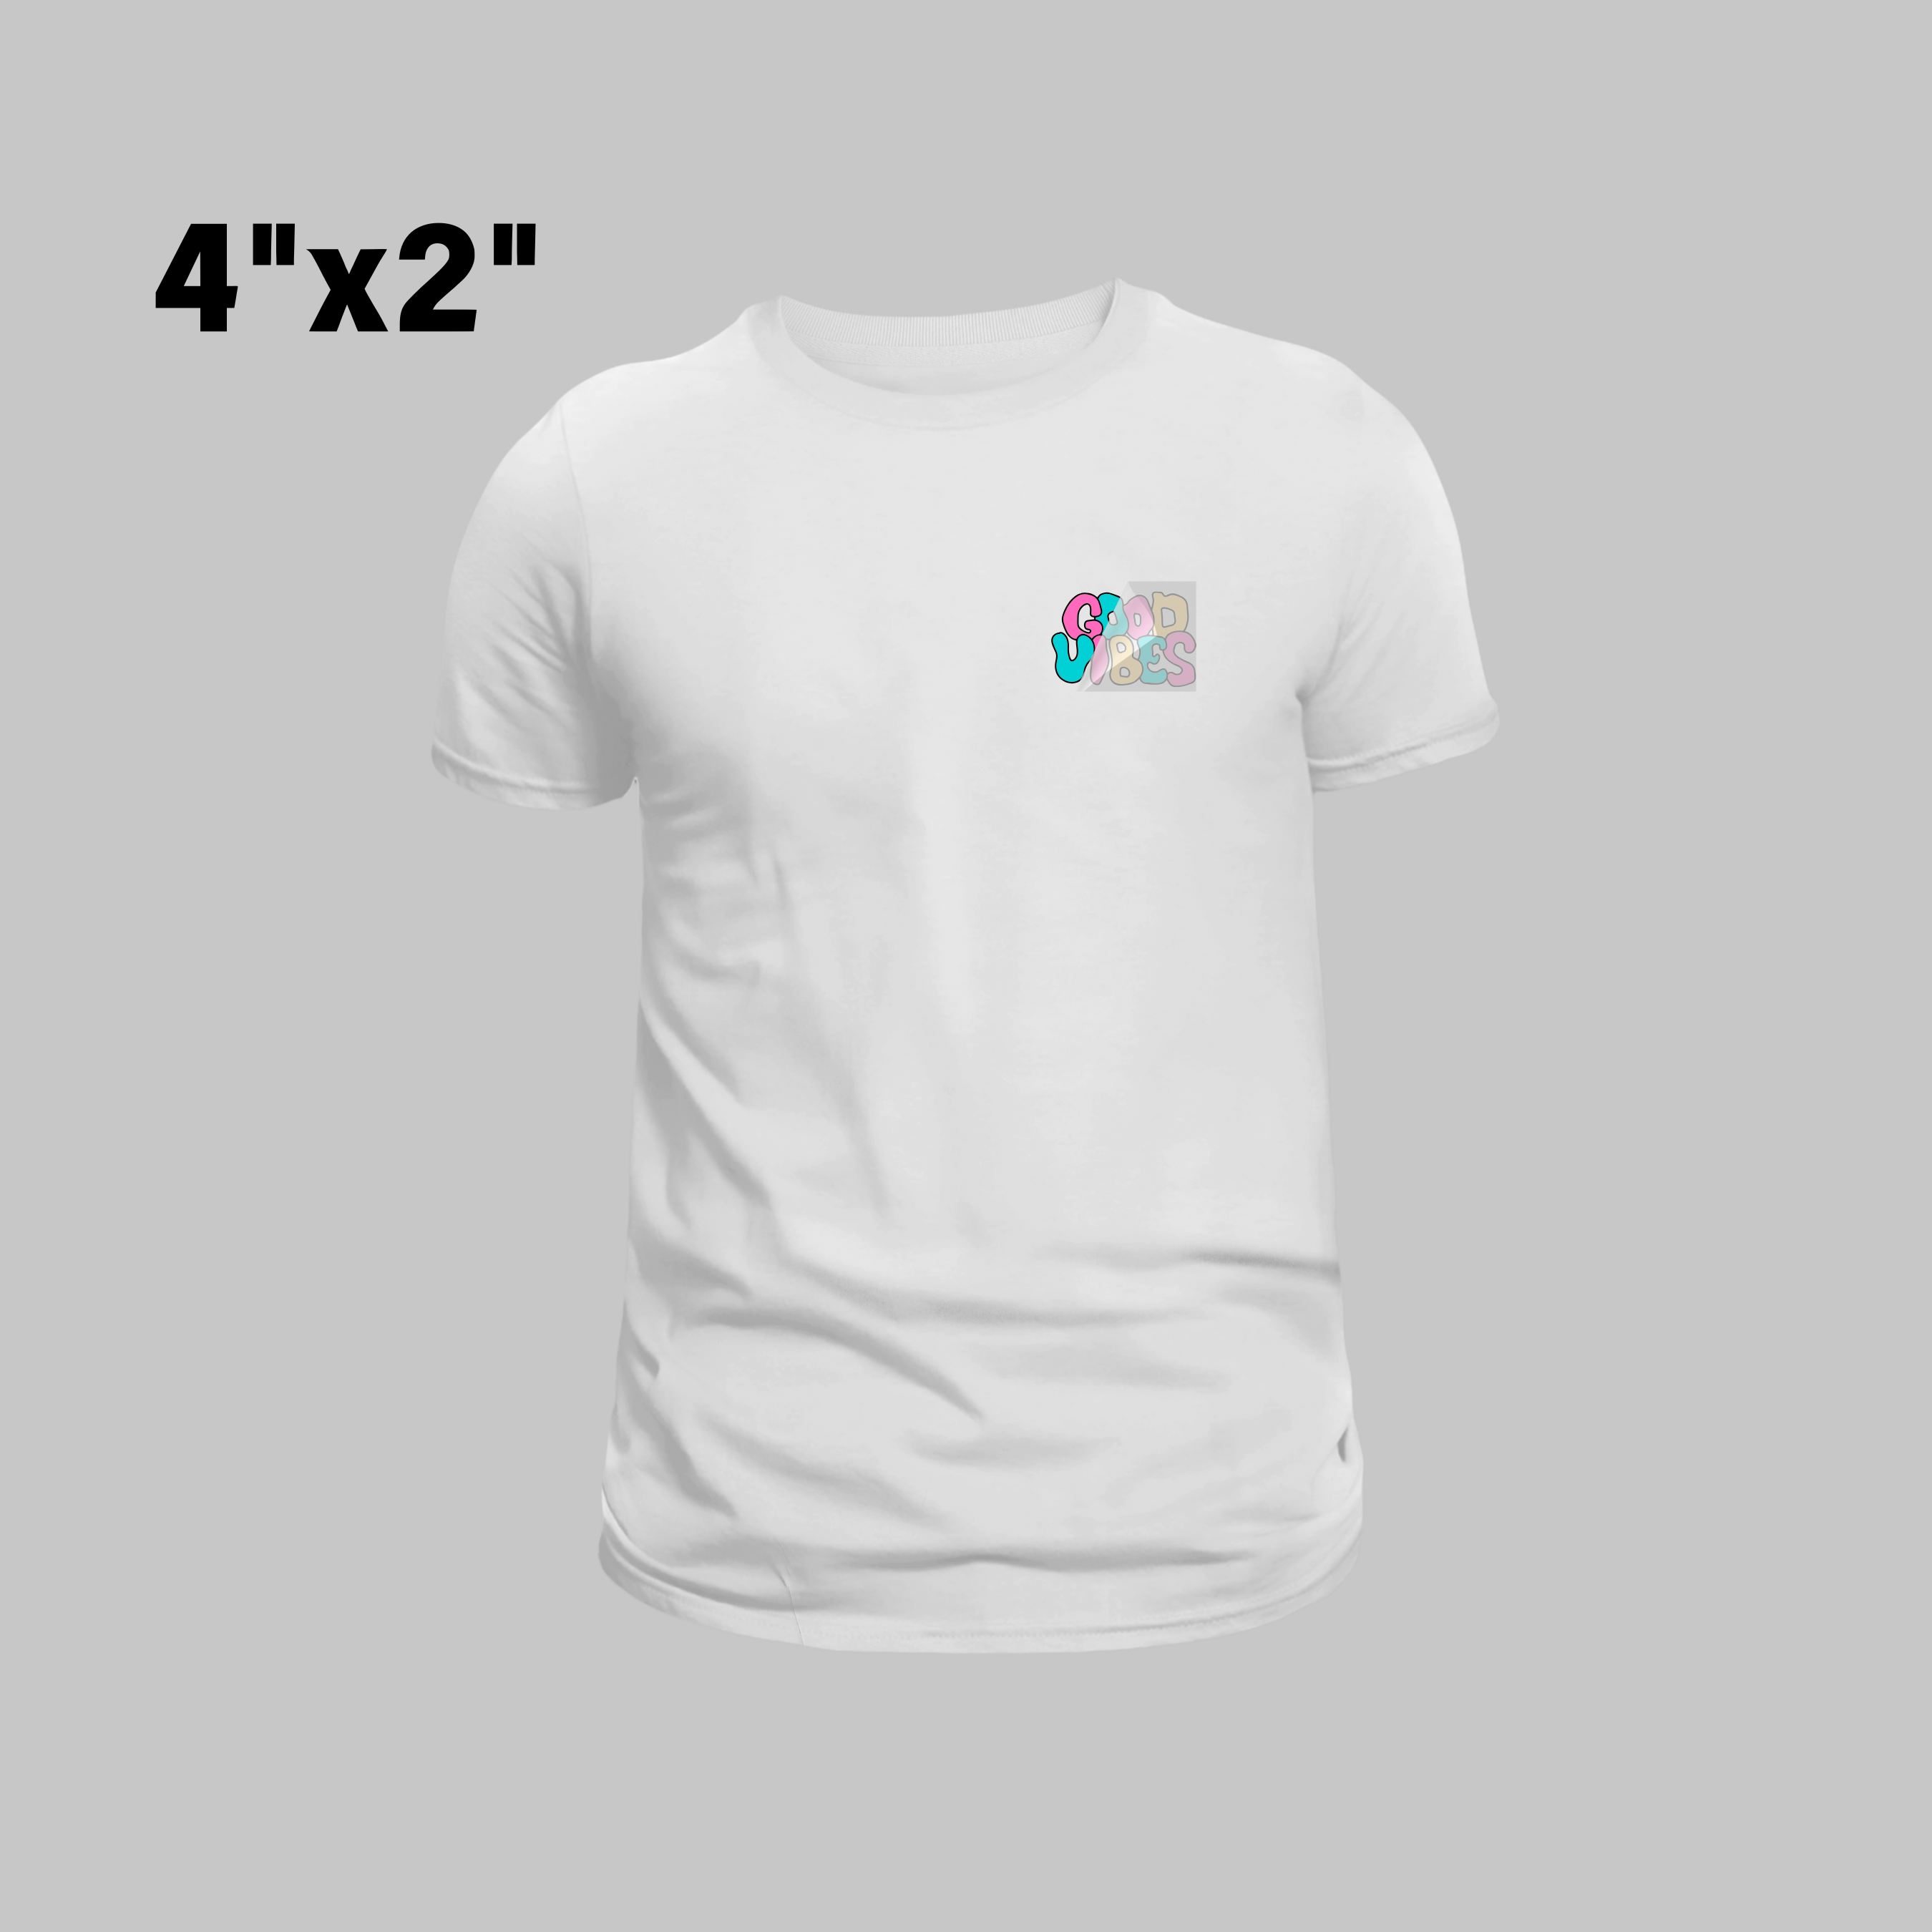
UV DTF TRANSFERS BY SIZE

DTF Transfer Powders - 1 KG
DTF Transfer Film Roll
How To Use DTF Transfers
A Complete Guide
If you’re new to the world of printing, learning how to use DTF transfers can be a game-changer for your projects. Direct-to-Film (DTF) transfers have gained massive popularity due to their versatility and ease of use. Whether you're customizing apparel, accessories, or other fabric items, DTF transfers offer high-quality results that are easy to apply. In this guide, we’ll take you through everything you need to know about using DTF transfers.
What is DTF Transfer?
DTF transfer involves printing designs on a special film and transferring them onto fabrics using heat. The process uses specialized printers and inks, making it suitable for vibrant, detailed designs on various materials. Unlike traditional methods, DTF is cost-effective and allows for high-quality results without the need for complex setups.
Benefits of Using DTF Transfers
Direct to film transfers offer several advantages over other printing methods, such as screen printing or heat transfer vinyl (HTV).
Versatility and Ease of Use
Direct to film transfers can be applied to a wide variety of fabrics, including cotton, polyester, blends, and even hard materials like wood and ceramics. This makes them incredibly versatile for various customization needs.
High-Quality Prints
The results from Direct to film transfers are crisp, vibrant, and durable. Unlike other methods, the colors remain vibrant even after multiple washes.
Cost-Effective
Direct to film transfers offer a lower cost-per-print compared to methods like screen printing, especially for small to medium-sized batches. This makes it ideal for custom printing businesses or hobbyists on a budget.
How To Use Direct to film Transfers: Step-By-Step Process
Learning how to use Direct to film transfers might seem complicated at first, but once you understand the steps, you can easily integrate this method into your printing routine.
Step 1: Prepare Your Design
Before you start, make sure your design is ready to go. You can use graphic design software like Adobe Illustrator or CorelDRAW to create or modify your design.
Step 2: Print Your Design
Using a specialized DTF printer, print your design onto the transfer film. Make sure to reverse your image if it contains any text or specific details.
Step 3: Apply the Powder
Once printed, the design will still be wet with ink. Apply a layer of hot melt powder to the design. This powder helps bind the ink to the fabric once heat is applied.
Step 4: Cure the Powder
Heat the printed film with the powder under a heat press to cure the powder and solidify the print. This step is crucial for ensuring the durability of your design.
Step 5: Heat Transfer to Fabric
Finally, position the transfer on your fabric and apply heat using a heat press. This step will transfer your design from the film to the fabric, resulting in a high-quality print.
Product Features of Direct to film Transfers
-
High-Resolution Prints: Get sharp, detailed designs that stand out.
-
Durable: Prints remain vibrant even after multiple washes.
-
Quick and Easy Application: Simple steps to apply with minimal equipment.
-
Works on Various Materials: Ideal for use on cotton, polyester, and more.
-
Cost-Effective for Small and Medium Batches: Low setup costs for affordable printing.
Common Questions About Direct to film Transfers
Can I use Direct to film transfers on dark fabrics?
Yes, Direct to film transfers work well on both light and dark fabrics. However, using the right color transfer film and ink is essential for achieving the best results on dark fabrics.
How long does the transfer last?
When applied correctly, Direct to film transfers are highly durable and can last through many washes without fading or peeling.
Use Cases for Direct to film Transfers
Direct to film transfers are perfect for a variety of uses, including:
Custom Apparel: T-shirts, hoodies, and more.
Accessories: Bags, hats, and scarves.
Home Décor: Pillows, towels, and more.
Small Business Customization: Ideal for creating custom orders for clients.
Check Out Our Other Products
More information