

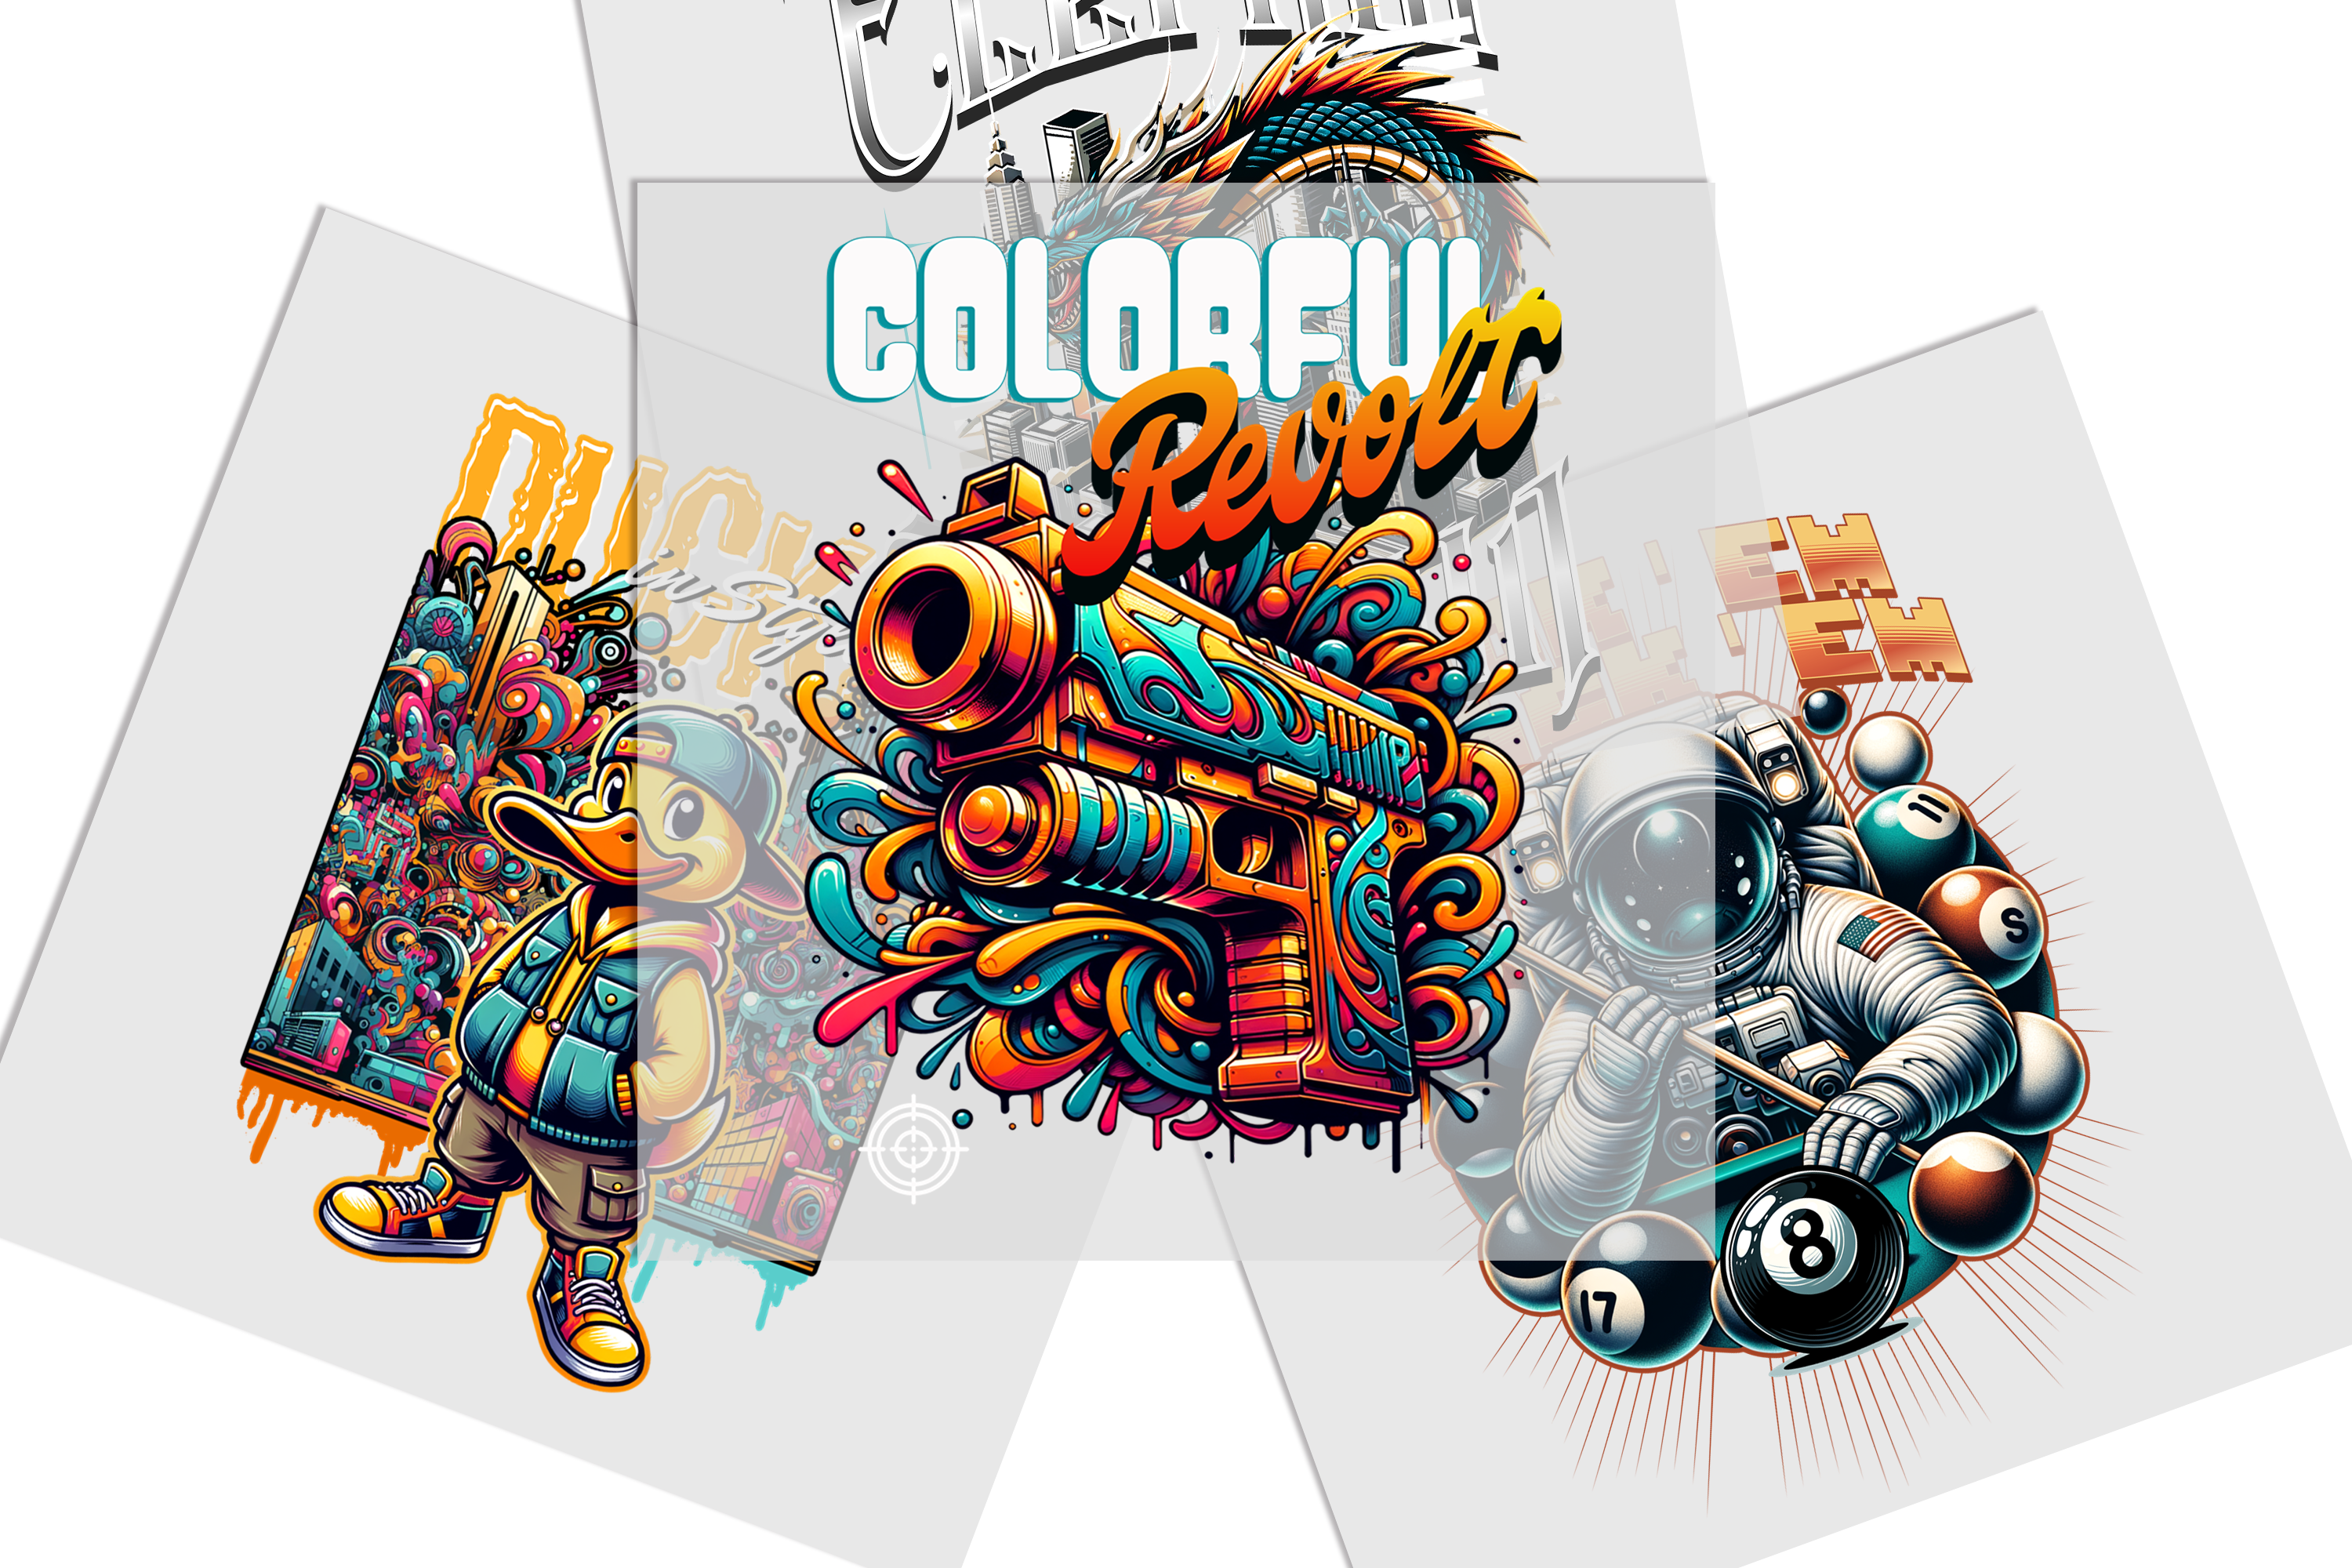
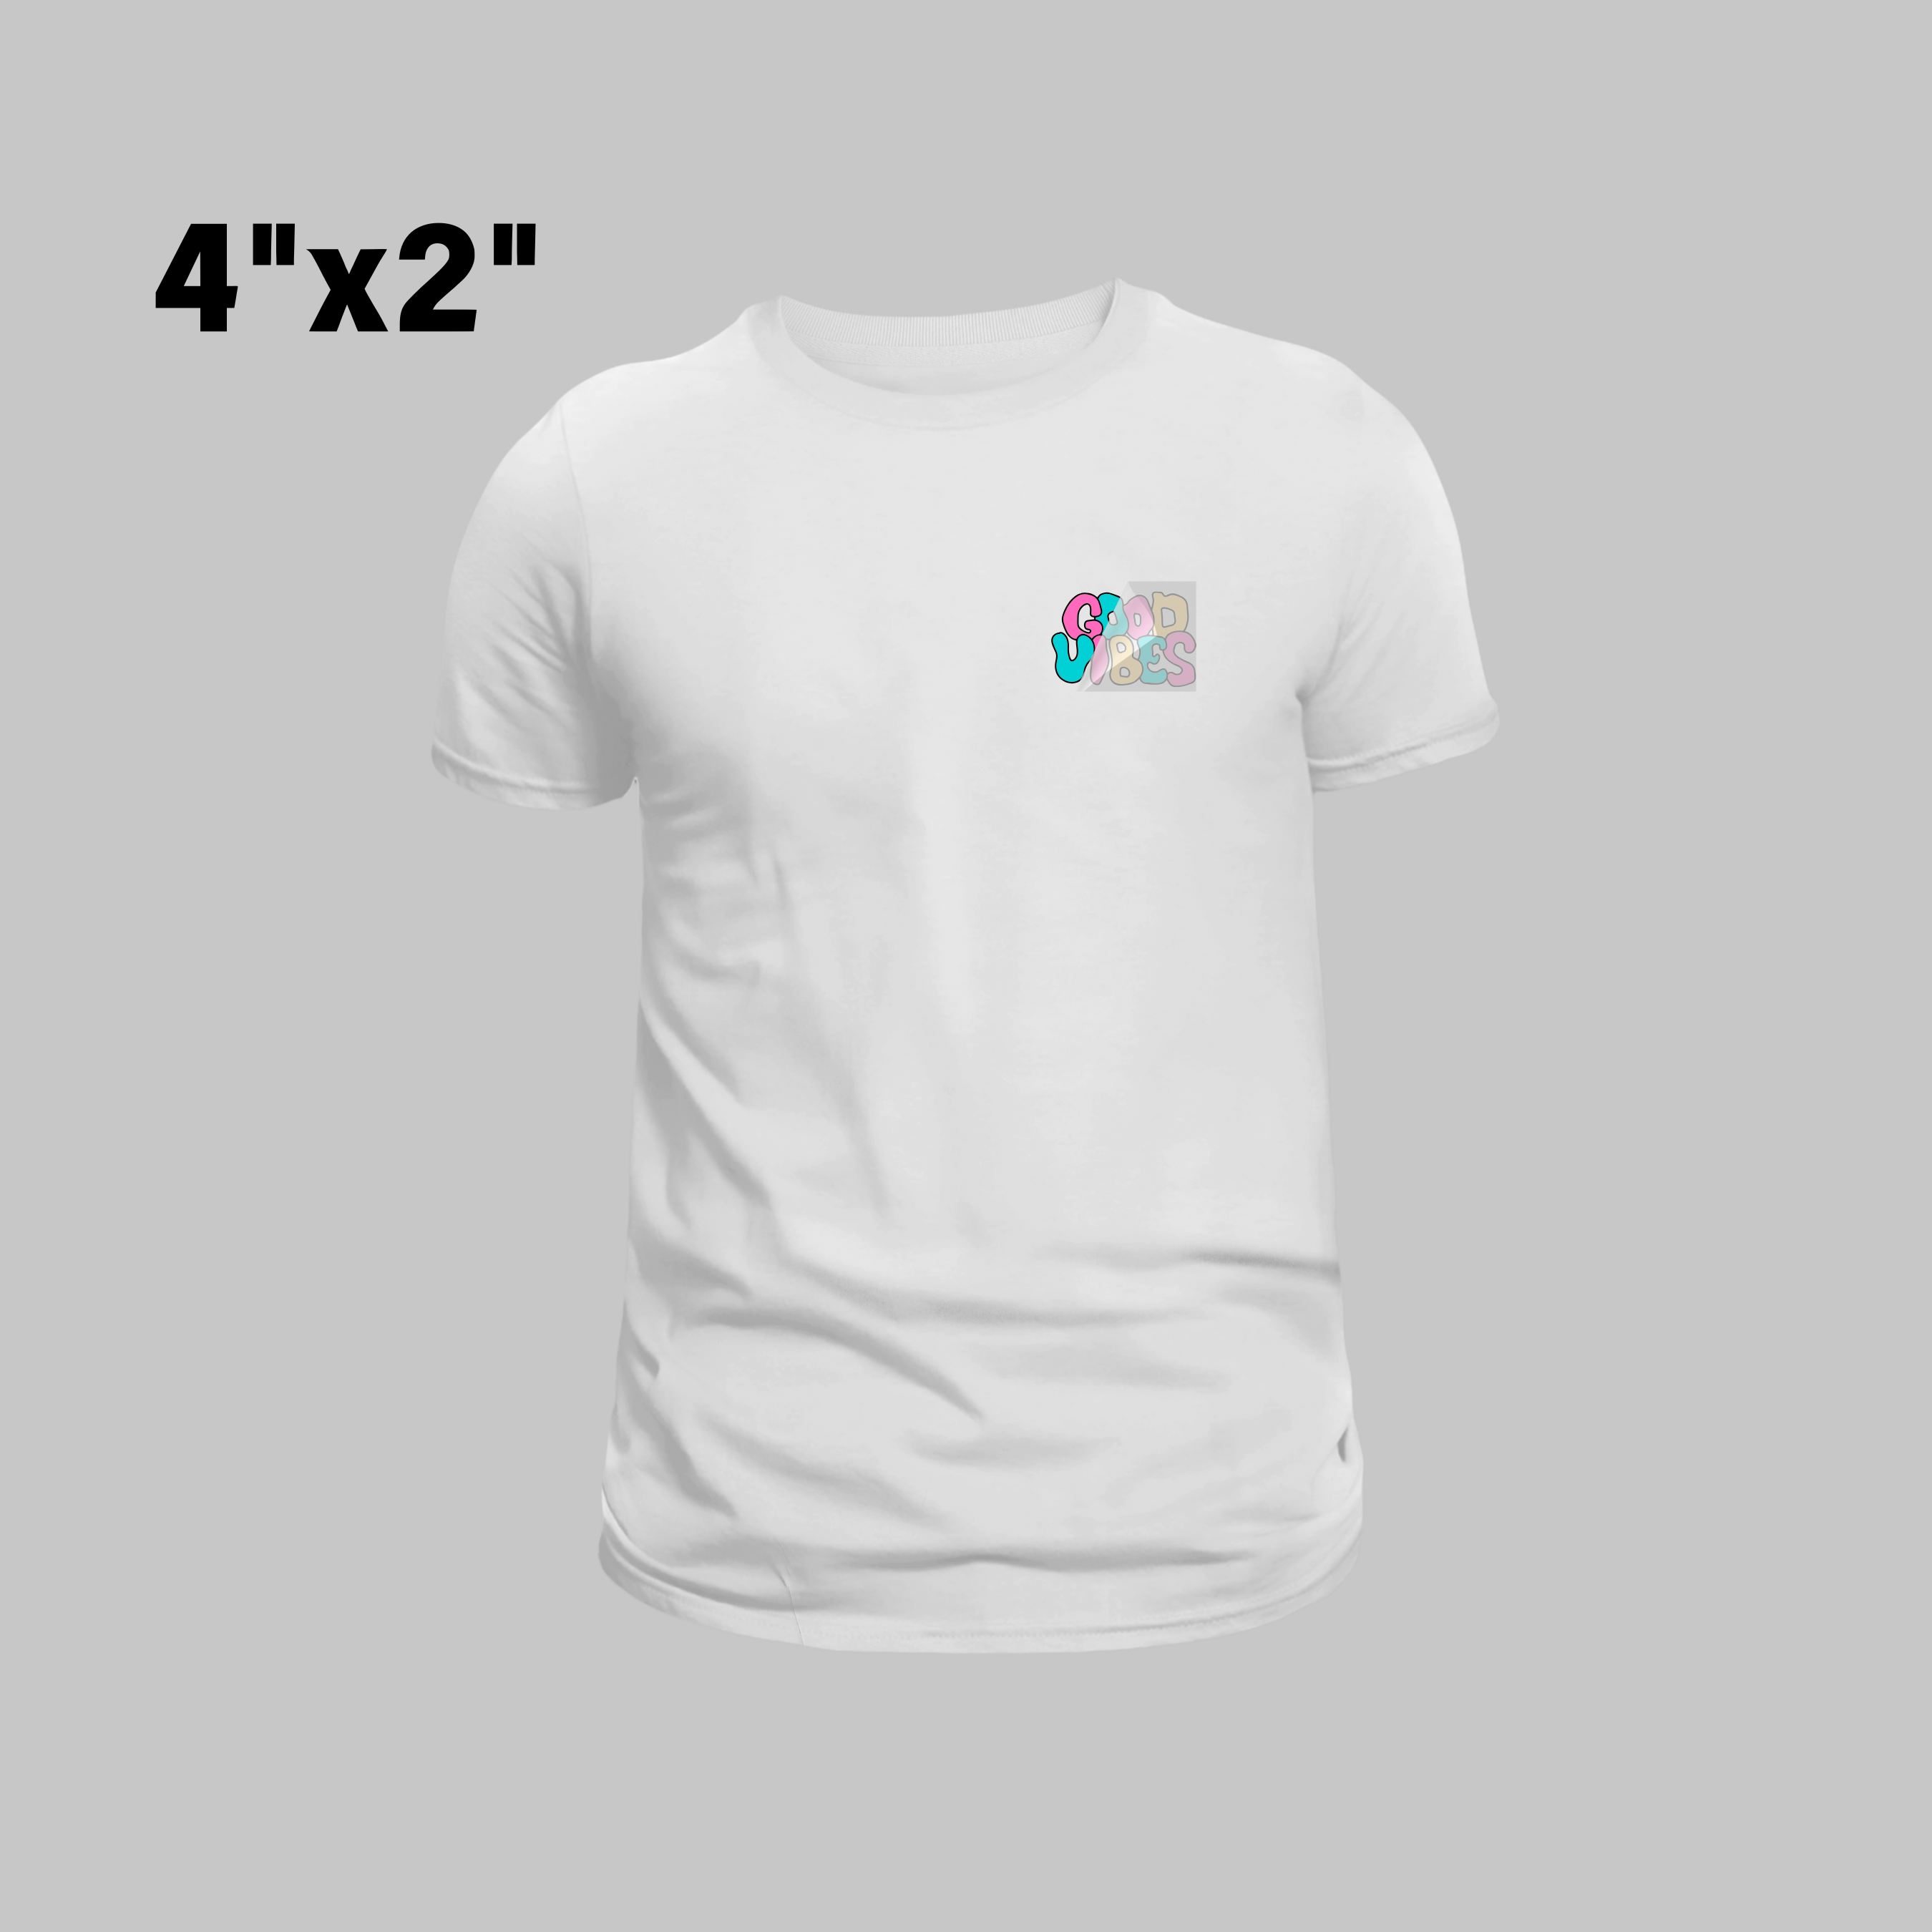
DTF Transfers by Size

UV DTF TRANSFERS BY SIZE
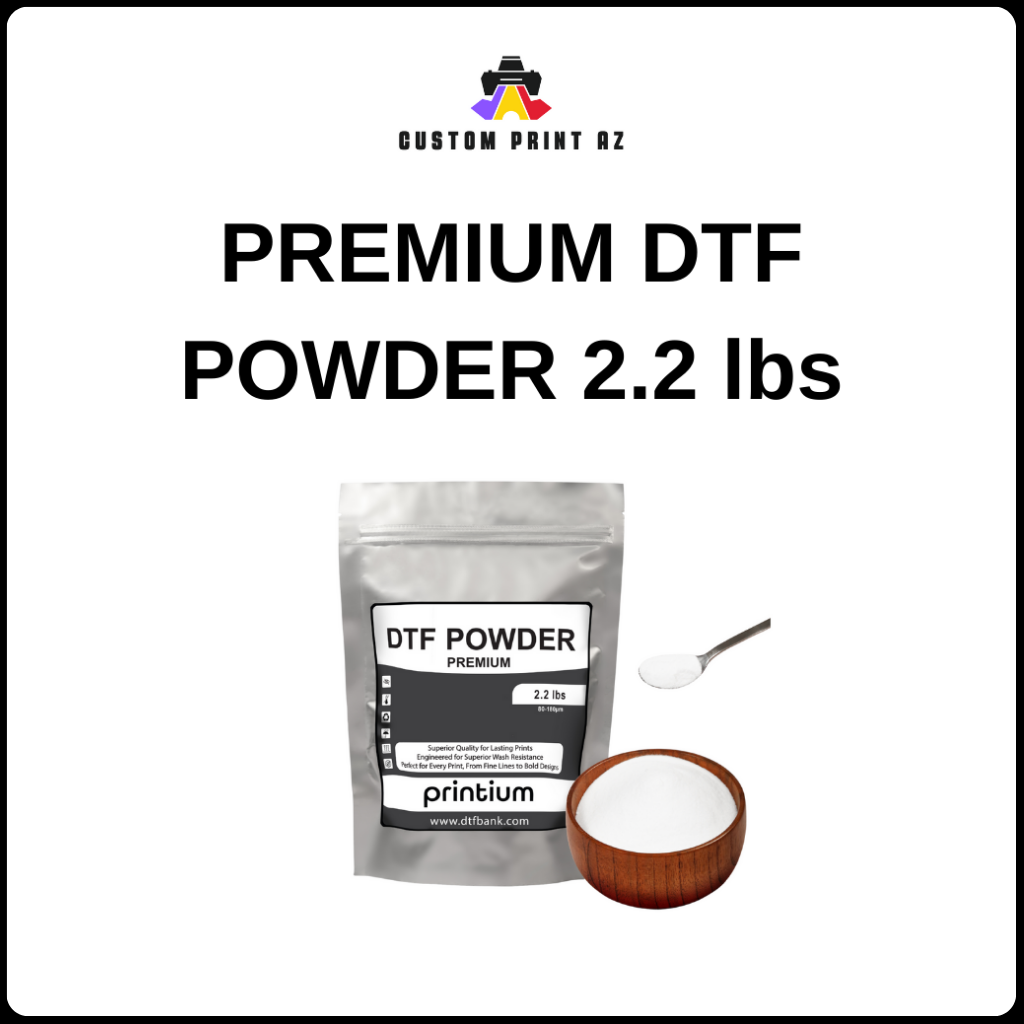

DTF Transfer Powders - 1 KG
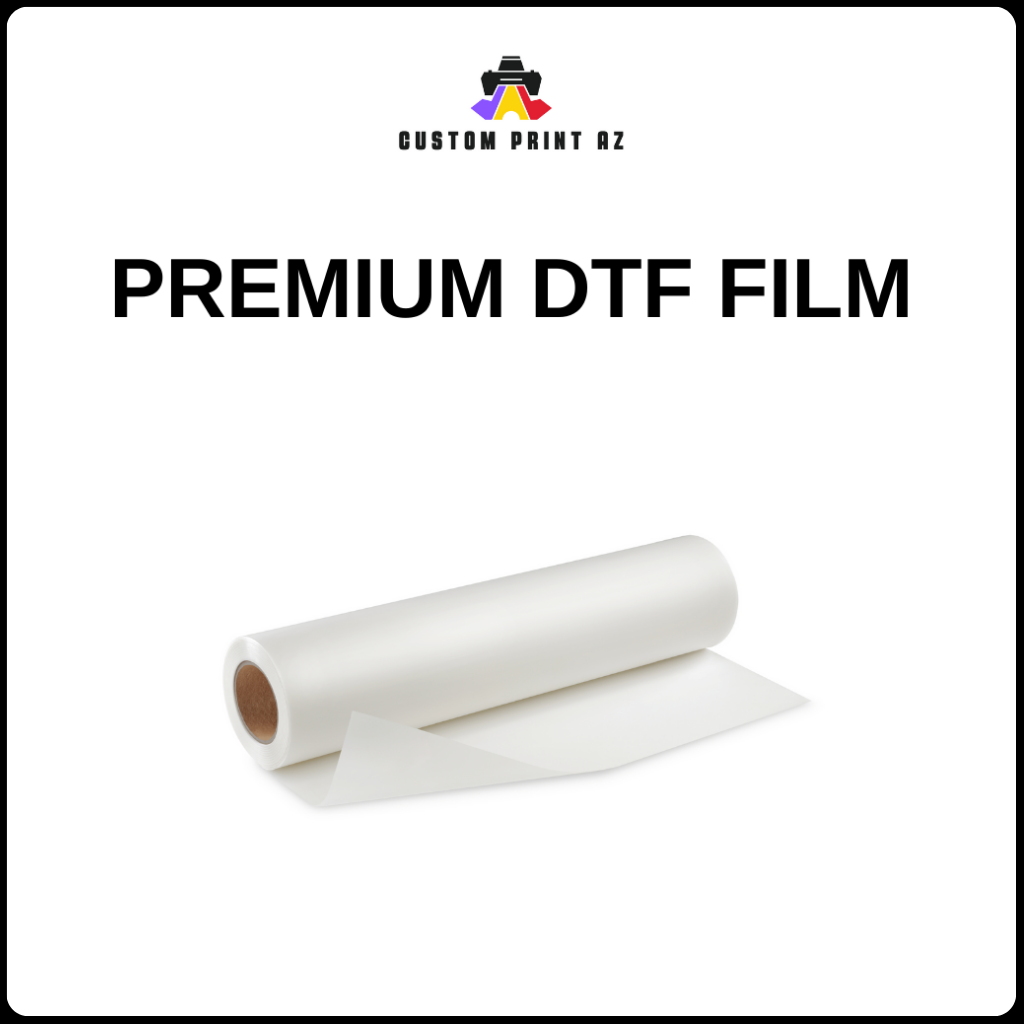
DTF Transfer Film Roll
How To Press DTF Transfer
A Comprehensive Guide
DTF (Direct to Film) transfers are an excellent choice for high-quality, durable prints on various fabrics and materials. However, knowing how to press DTF transfer correctly is essential for achieving the best results. Whether you are a small business owner or a DIY enthusiast, mastering the pressing process can elevate your designs and ensure they last. In this guide, we’ll walk you through the step-by-step process of pressing DTF transfers.
What Is DTF Transfer and Why Is It Popular?
DTF transfer is a versatile and efficient printing method where designs are printed onto a special film and then transferred to fabric using heat. It’s popular because of its ability to produce vibrant, long-lasting prints on various materials like cotton, polyester, and blends. When done correctly, DTF transfers can provide professional results at a fraction of the cost of other printing methods.
Step-by-Step Guide on How To Press DTF Transfer
Pressing DTF transfers is a simple but critical process. Here’s how to do it:
Step 1: Prepare Your Materials
Before you begin pressing, ensure you have all the materials you need:
-
DTF transfer film with your design
-
Hot melt powder (for curing)
-
Heat press machine
-
Pre-heated press pad or Teflon sheet
Make sure the fabric is clean and free from any wrinkles or moisture. This helps the transfer adhere properly.
Step 2: Print Your Design
Using a DTF printer, print your design onto the DTF transfer film. If your design includes text or detailed elements, ensure it’s mirrored before printing. This will ensure it appears correctly when transferred.
Step 3: Apply Hot Melt Powder
Once the design is printed, apply a layer of hot melt powder over the wet ink. The powder helps bind the ink to the fabric once heat is applied. Shake off any excess powder to ensure an even coating.
Step 4: Cure the Powder
Place the transfer film with the powder under a heat press. This step is crucial for curing the powder and setting the ink. Set your press to around 170°C (338°F) and press for 3-5 minutes. This ensures the powder binds well with the ink, making the design durable.
Step 5: Prepare the Fabric
Pre-heat your fabric in the heat press for about 5 seconds to remove any moisture and wrinkles. This will provide a smooth surface for the transfer to adhere to.
Step 6: Transfer the Design
Now, place the DTF transfer film onto the fabric with the printed side facing down. Use a heat press to transfer the design. Set the temperature to around 160°C (320°F) and press for about 10-15 seconds with medium pressure.
Step 7: Peel the Film
Once the press cycle is complete, carefully peel the transfer film while it’s still warm. Make sure to remove the film slowly and evenly to avoid damaging the design.
Product Features of DTF Transfer Pressing
-
Vibrant Prints: Achieve sharp, vivid designs with high-resolution colors.
-
Durable Results: Prints remain intact through multiple washes without fading or peeling.
-
Versatile Application: Ideal for use on cotton, polyester, and many other fabric types.
-
Cost-Effective: Perfect for small businesses or hobbyists who want high-quality results without the high cost.
-
Quick & Efficient: Simple process that saves time compared to other methods like screen printing.
Benefits of Pressing DTF Transfers
Pressing DTF transfers offers several advantages:
-
High-Quality Output: DTF printing produces clean, vibrant prints that stand out on fabrics.
-
Fast and Easy: The process is quicker and easier than traditional screen printing or embroidery.
-
Durability: With proper pressing, DTF transfers will withstand numerous washes without losing quality.
-
Cost-Effective: Ideal for short runs and custom designs, providing a budget-friendly solution for small businesses.
Common Questions About DTF Transfer Pressing
How do I know if the transfer has been applied correctly?
The transfer should feel smooth to the touch. If you notice any peeling or cracking after peeling the film, the transfer may have been under-pressed.
Can I press DTF transfers onto dark fabrics?
Yes, Direct to film transfers work well on both light and dark fabrics. Make sure to use the correct transfer film to get the best results on dark materials.
How long will a Direct to film transfer last?
With proper pressing and care, Direct to film transfers can last as long as other printing methods, even through many washes.
Use Cases for Direct to film Transfer Pressing
Direct to film transfer pressing can be used for a variety of products:
Custom Apparel: T-shirts, hoodies, and sweatshirts.
Home Décor: Pillows, towels, and other fabric-based items.
Accessories: Bags, hats, and more.
Small Business Orders: Great for creating custom designs for customers.
1. What is a Direct to film Transfer?
Direct to film transfer is a printing method where designs are printed onto a special film, which is then transferred to fabric or other materials using heat. It’s known for producing high-quality, vibrant prints that last.
2. How do I apply a Direct to film Transfer?
To apply a Direct to film transfer, first print your design onto DTF transfer film, apply hot melt powder to the print, and cure it under a heat press. Then, transfer the design to the fabric using a heat press and peel off the film once the transfer is complete.
3. Can I use Direct to film transfers on dark fabrics?
Yes, Direct to film transfers work well on both light and dark fabrics. However, the type of transfer film used is important for achieving the best results on dark-colored materials.
4. How long do Direct to film transfers last?
When applied correctly, Direct to film transfers are highly durable and can last for many washes without fading or peeling. Proper pressing and care will ensure longevity.
5. What materials can I apply Dİrect to film transfers to?
Direct to film transfers can be applied to a variety of materials, including cotton, polyester, and blends. You can also use them on some non-fabric materials such as wood and ceramics.
Check Out Our Other Products
More information